Sometimes, users unknowingly delete emails or a malicious actor intentionally purges an entire mailbox. Especially if the Deleted Items folder is also emptied, the situation can seem hopeless. Fortunately, Exchange Online offers a solution through the Microsoft 365 Compliance Center, specifically using the eDiscovery tool.
Prerequisites
Before you begin the recovery process, it’s essential to ensure you have the necessary permissions. There are a couple of key roles you may need to assign to your account:
- eDiscovery Manager Role: This role is required to search content locations in the organization and perform various search-related actions such as preview and export search results in eDiscovery. Members can also create and manage cases, add, and remove users for a case, create case holds, run searches associated with a case, and access case data. eDiscovery Managers can only access and manage the cases they create. They can’t access or manage cases created by other eDiscovery Managers.
- eDiscovery Administrator: An eDiscovery Administrator is a member of the eDiscovery Manager role group and can perform the same content search and case management-related tasks that an eDiscovery Manager can perform. Additionally, an eDiscovery Administrator can view and access all eDiscovery cases.
Follow the steps below to assign eDiscovery Manager and eDiscovery Administrator roles.
eDiscovery Manager role assignment:
- Go to https://security.microsoft.com/ and sign in using an account that can assign permissions. (e.g Global Administrator)
- In the left pane, select System > Permissions
- On the Permissions page, under Email & collaboration roles, select Roles.
- Next, select eDiscovery Manager.
- On the eDiscovery Manager flyout pane, do one of the following based on the eDiscovery permissions that you want to assign.
- Select Edit
- On the Manage eDiscovery Manager page, select Choose users
- Search and select the user you want to add as an eDiscovery Manager, and then click Select.
- Select Next
eDiscovery Administrator role assignment:
- On the Manage eDiscovery Administrator page, select Choose users.
- Search and select the user you want to add as an eDiscovery Administrator, and then click Select.
- Select Next.
- On the Review the role group and finish page, review the role group changes. Select Save to save the changes to the eDiscovery role group(s).
Mailbox Import Export Role: To create import jobs in the Microsoft Purview Compliance Portal and import PST files into user mailboxes, you must be assigned the Mailbox Import Export role in Exchange Online. Note that this role is not assigned by default to any role group, so you’ll need to manually assign it.
Follow the steps below to assign Mailbox Import Export role:
- Log in to the Exchange Admin Center with administrator credentials.
- In the left pane, select Roles > Admin roles.
- On the Admin roles page select the Organization Management role group.
- Go to the Permissions tab.
- Find and select the Mailbox Import Export role.
- Click Save to apply the changes.
You can also add the Mailbox Import Export role via PowerShell.
PS C:\> New-ManagementRoleAssignment -Role "Mailbox Import Export" -SecurityGroup "Group Name" -Name "Import Export Org Management"
The process to recover lost emails may seem complicated, but it’s actually quite simple when you follow these steps:
- Create an eDiscovery case
- Specify Search criteria
- Export the search results
- Download the export
Create an eDiscovery Case
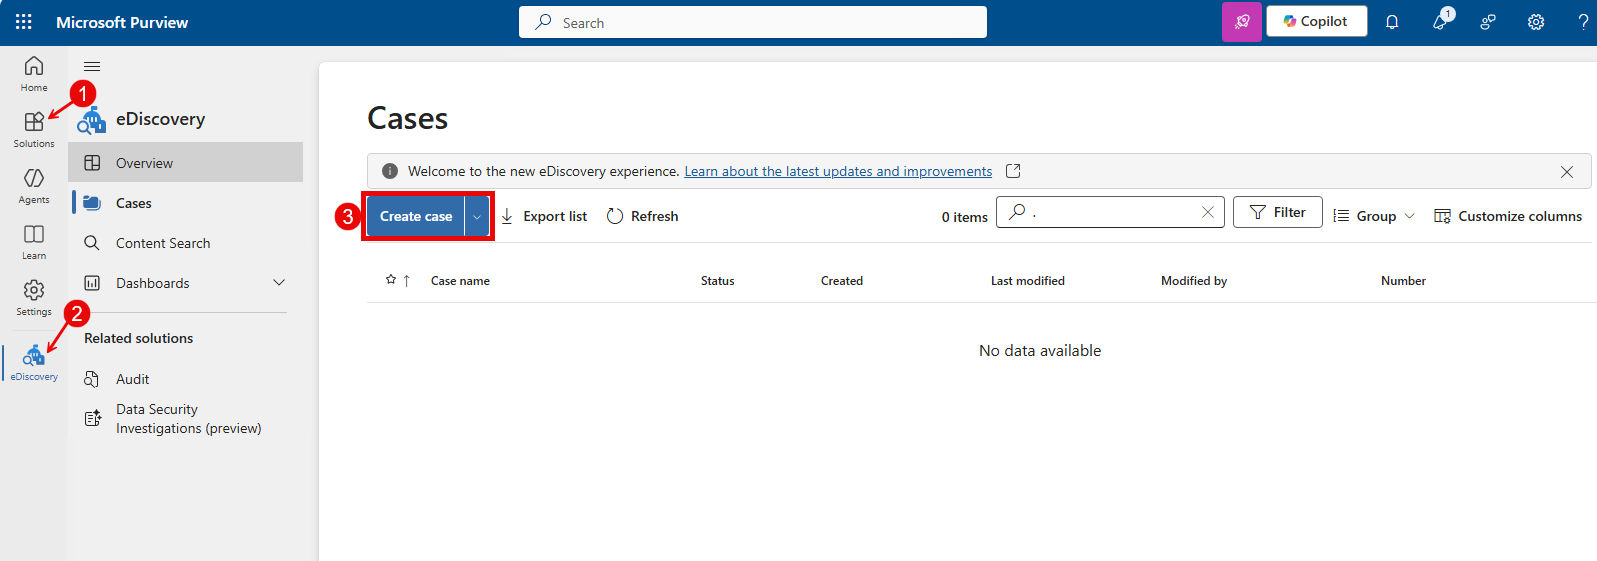
- Login to Microsoft Purview
- In the left pane, select Solutions > eDiscovery
- Select the Create case button.
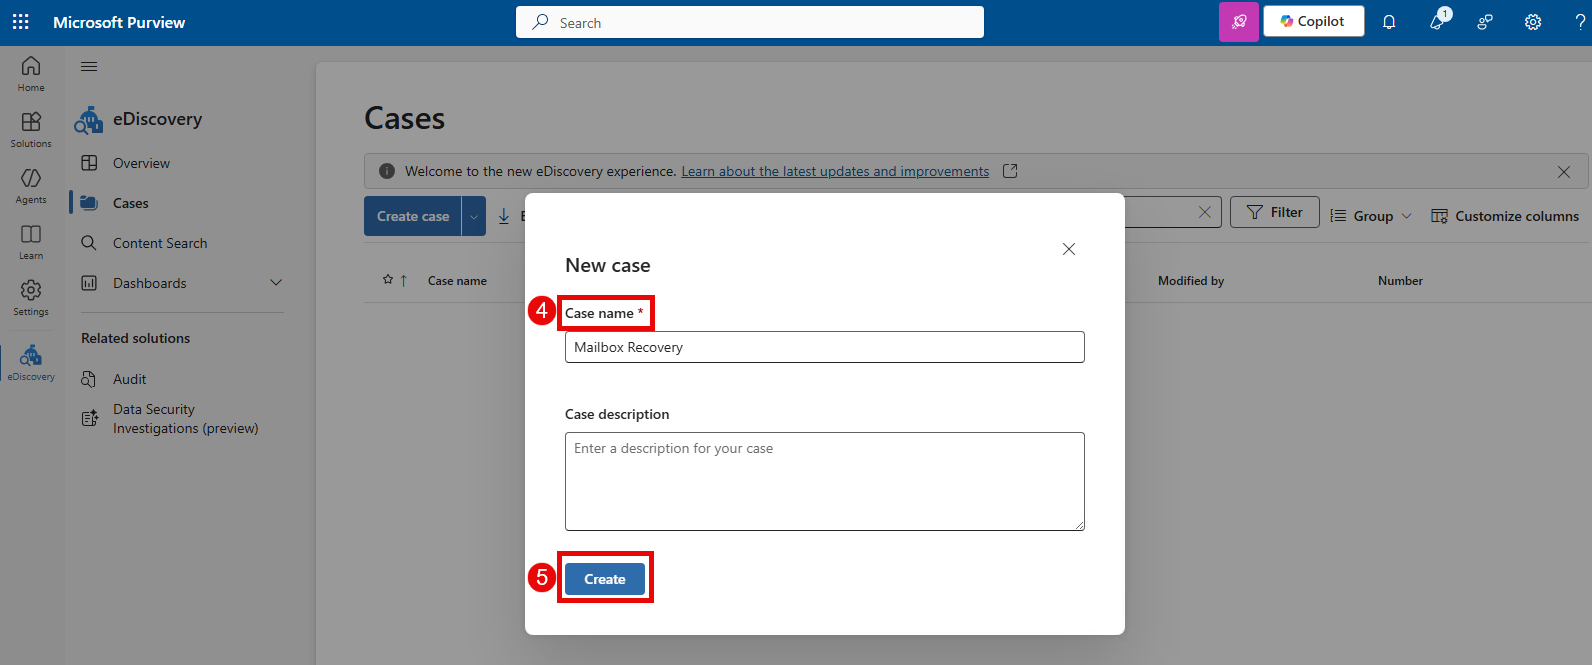
- Give the case a name and add an optional description.
- Select Create.
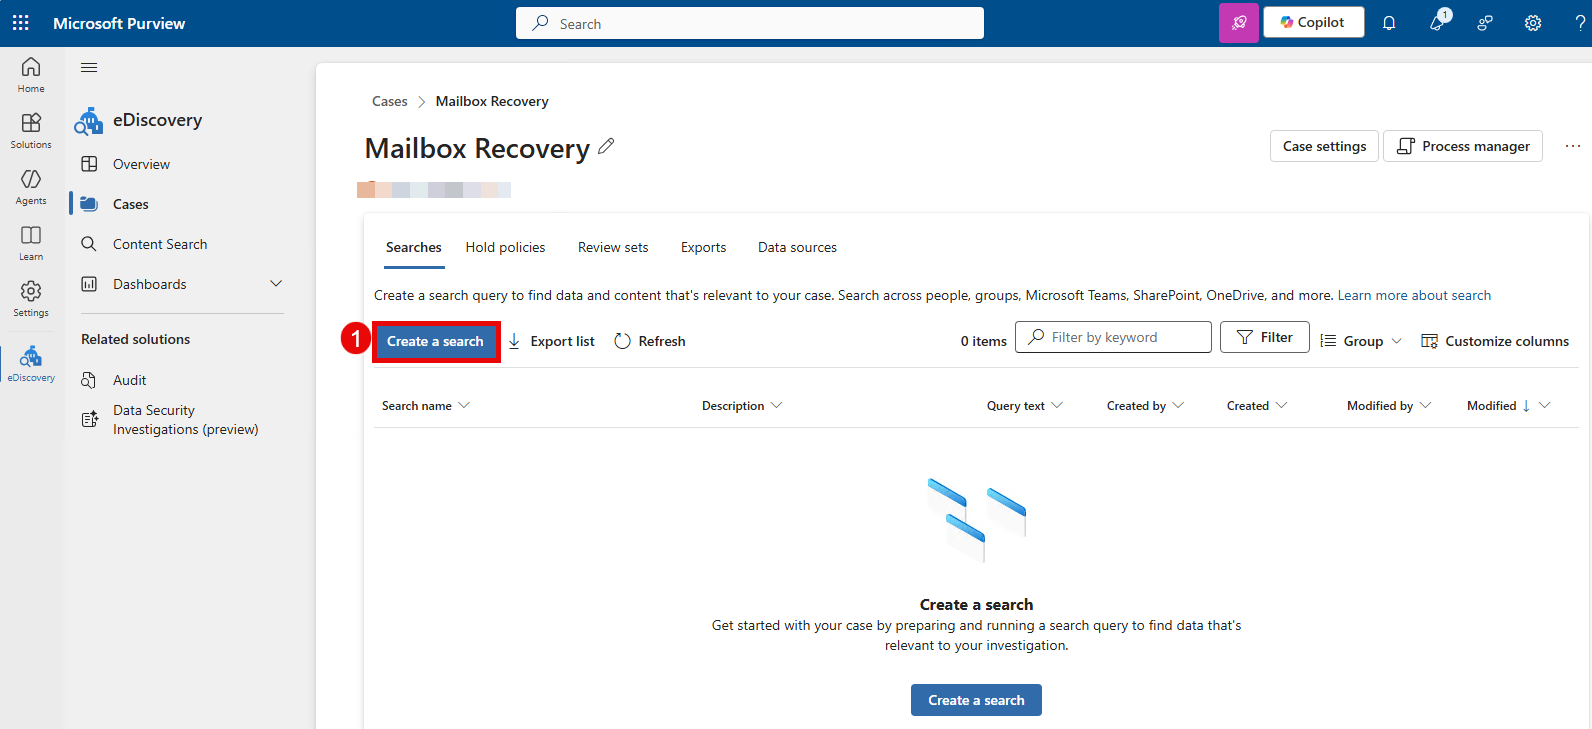
Create a Search Criteria
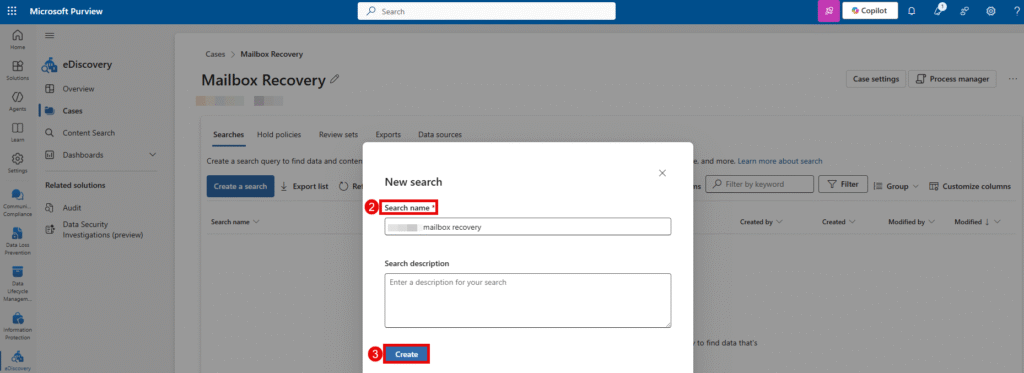
- Click on Create a search.
- Provide a search name.
- Select Create.
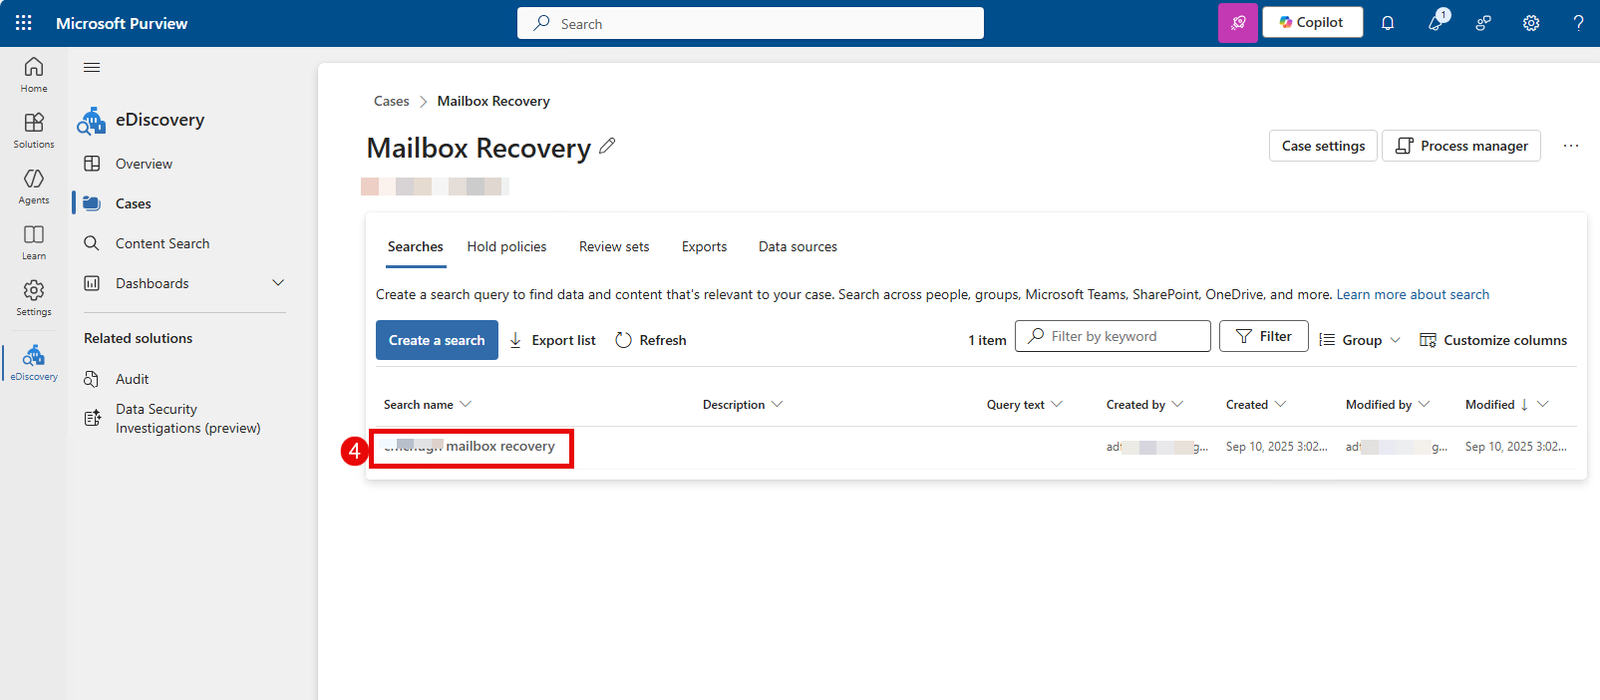
- Next click on the search name you just created.
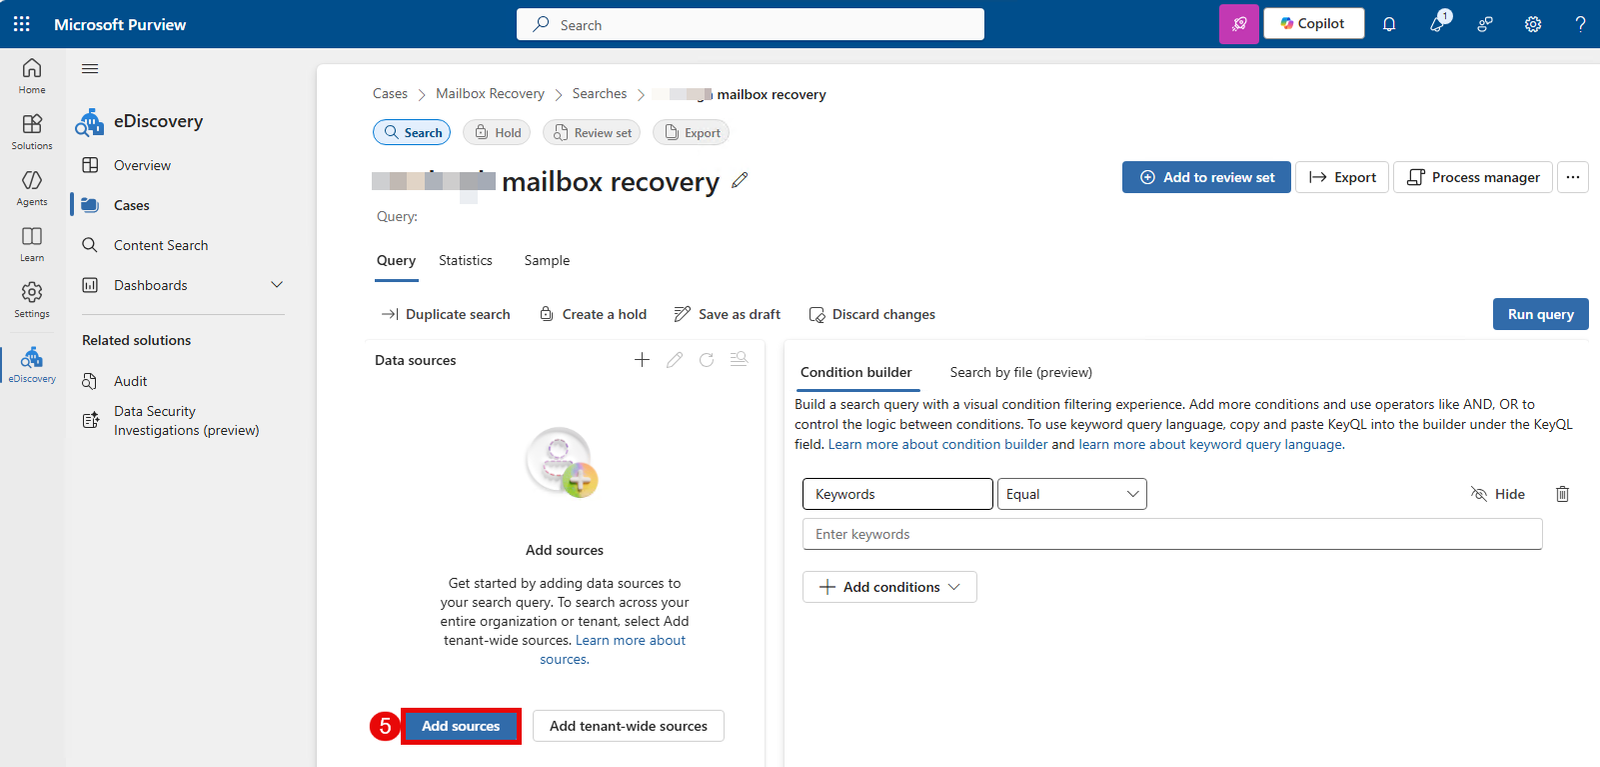
- Select Add sources to add data sources to you search query
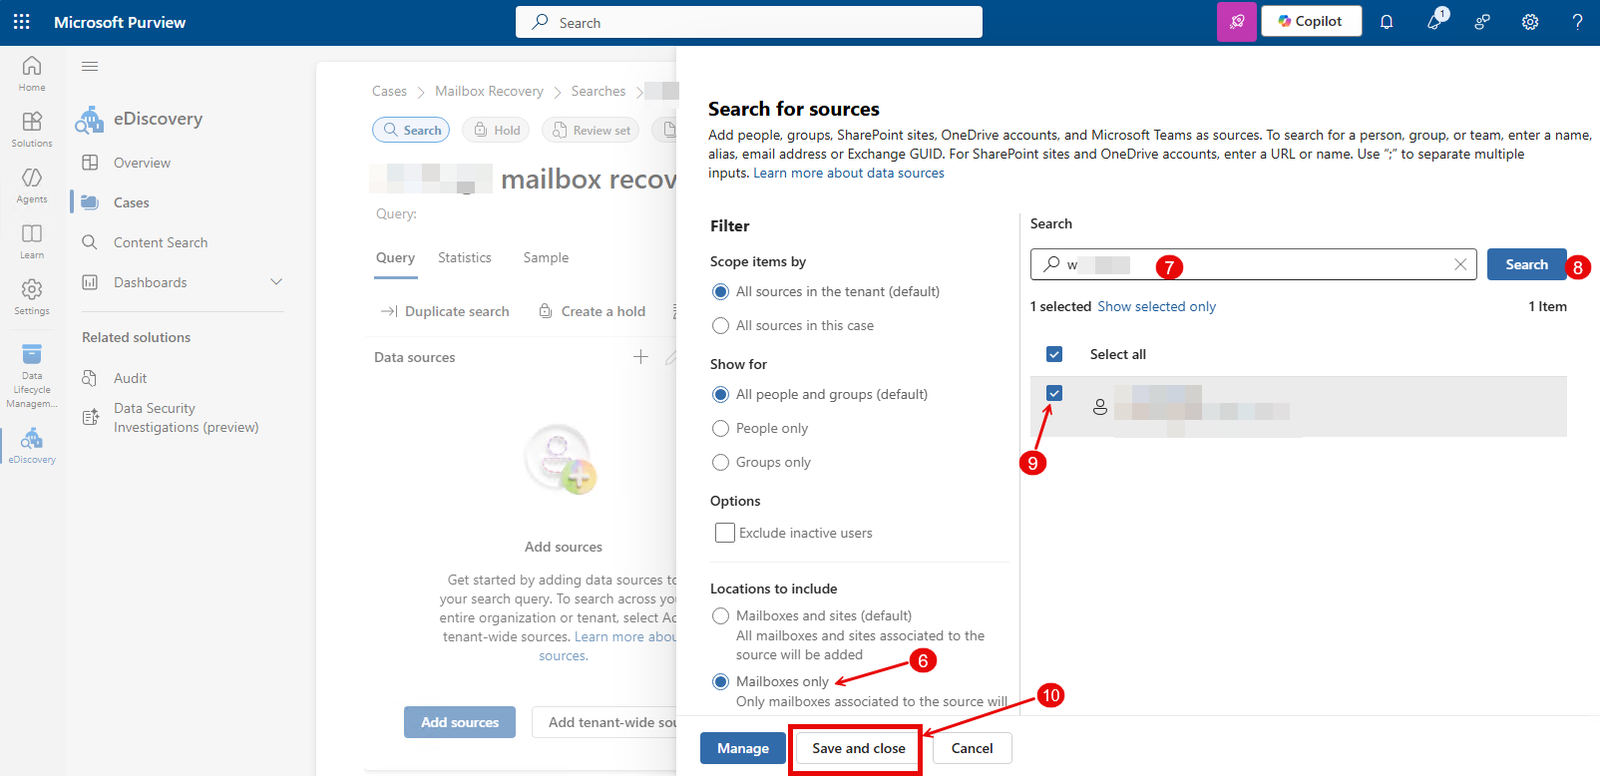
- Choose the location(s) to search from. Default is Mailboxes and sites, but for this example we just want to recover mailboxes so we’ll select Mailboxes only.
- Type the name of the user whose mailbox you want to recover in the search box.
- Select Search.
- Select the checkbox beside the user.
- Select Save and close.
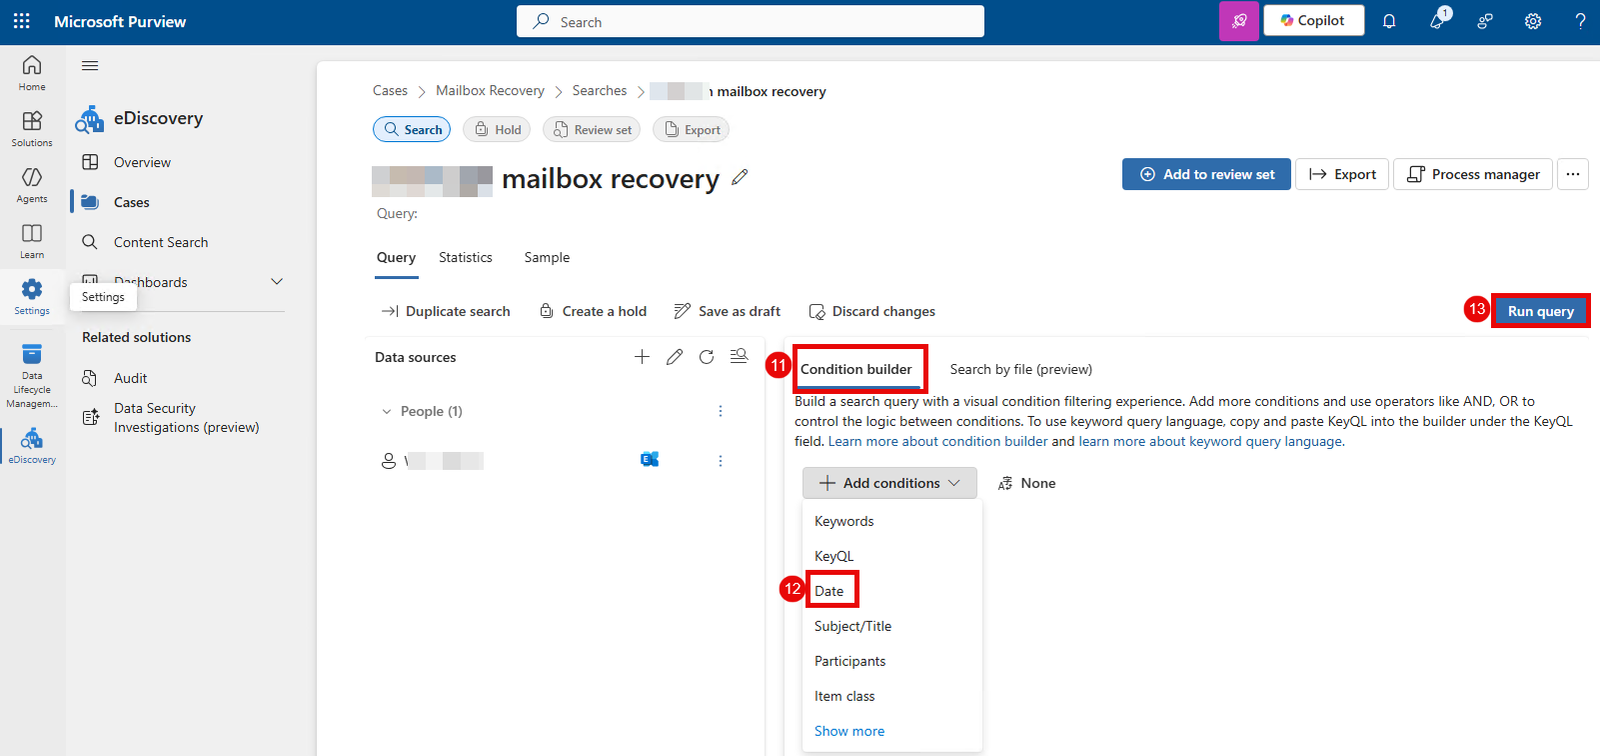
- Next, select the Conditional builder tab to add conditional builder
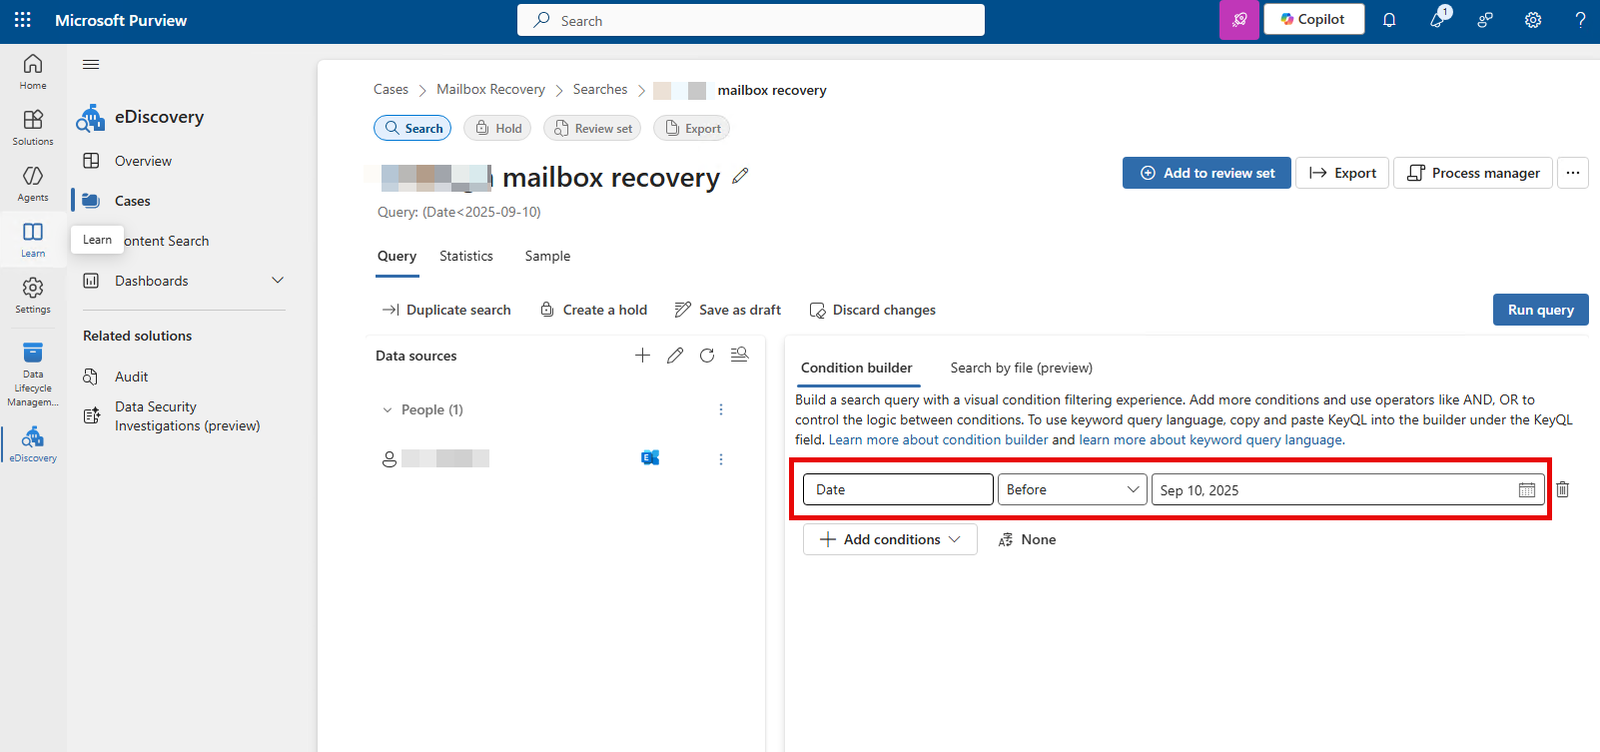
- Choose a filter that’s appropriate for your situation (We’ll be filtering by date in this example, because we want to recover emails before September 10, 2025)
- Select Run query
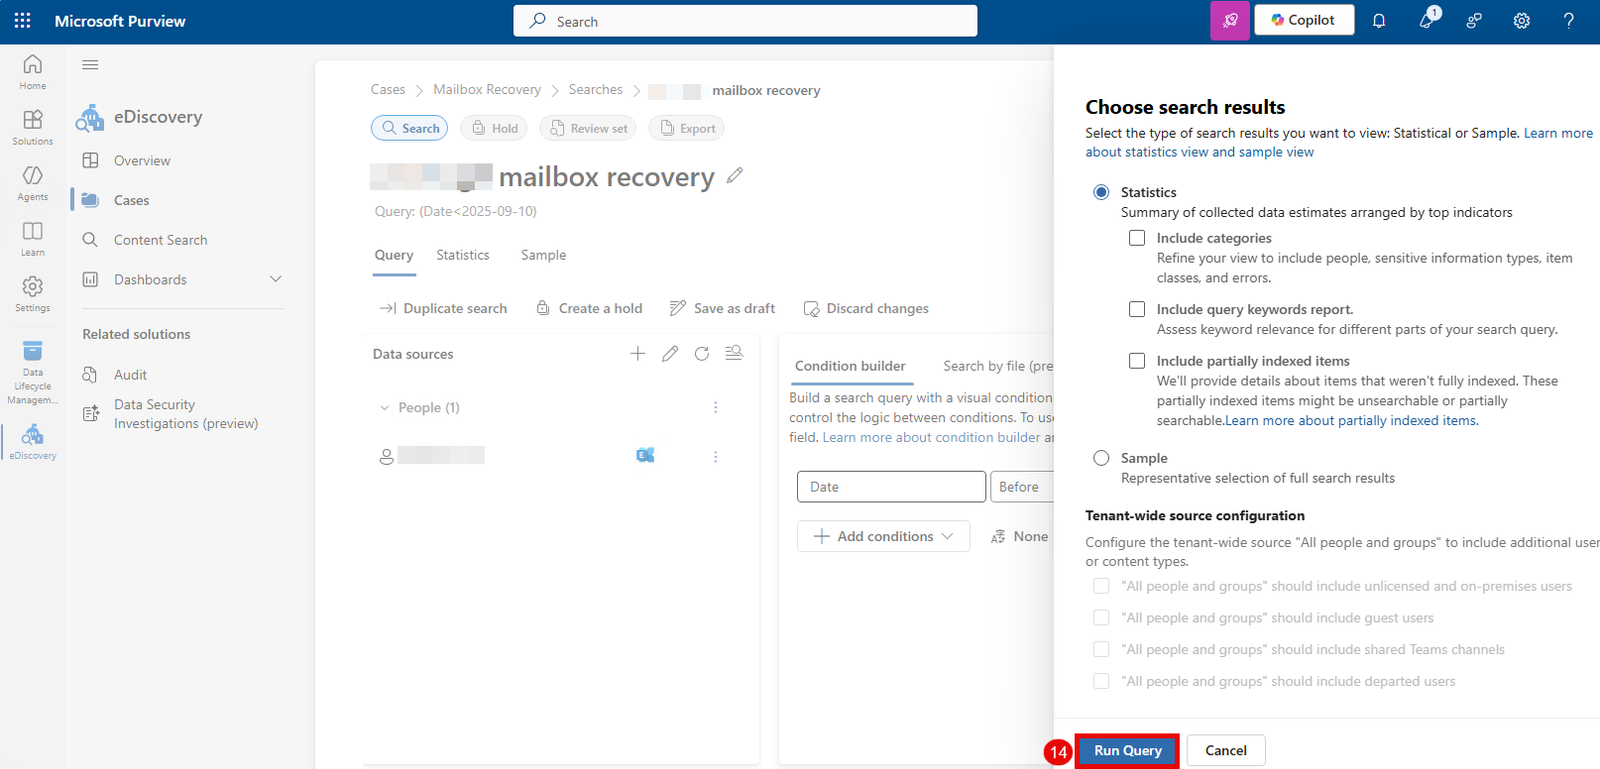
- Select Run Query once more on the Choose search result fly out pane. you can leave the default options)
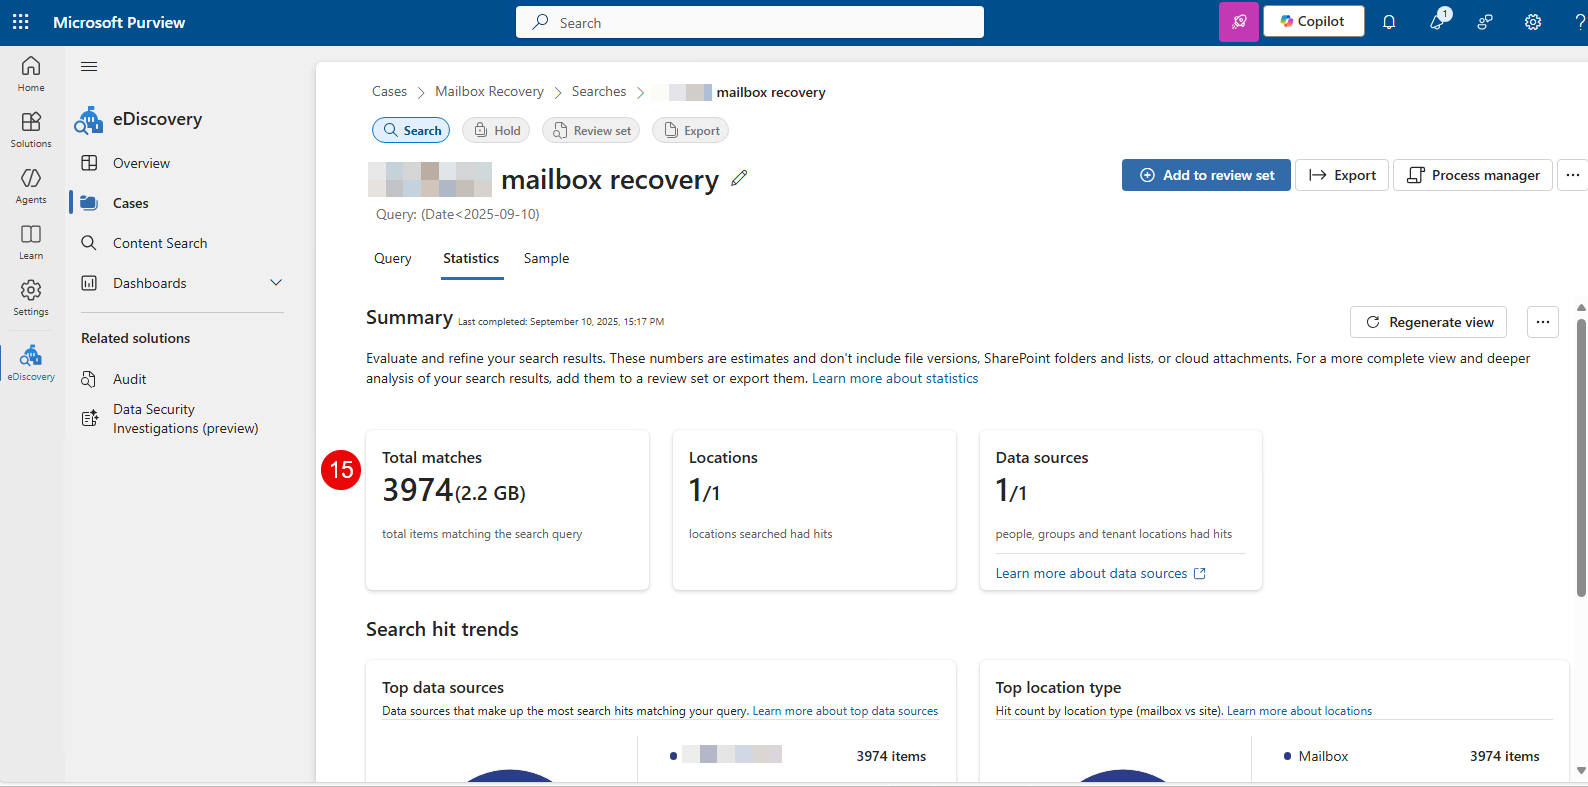
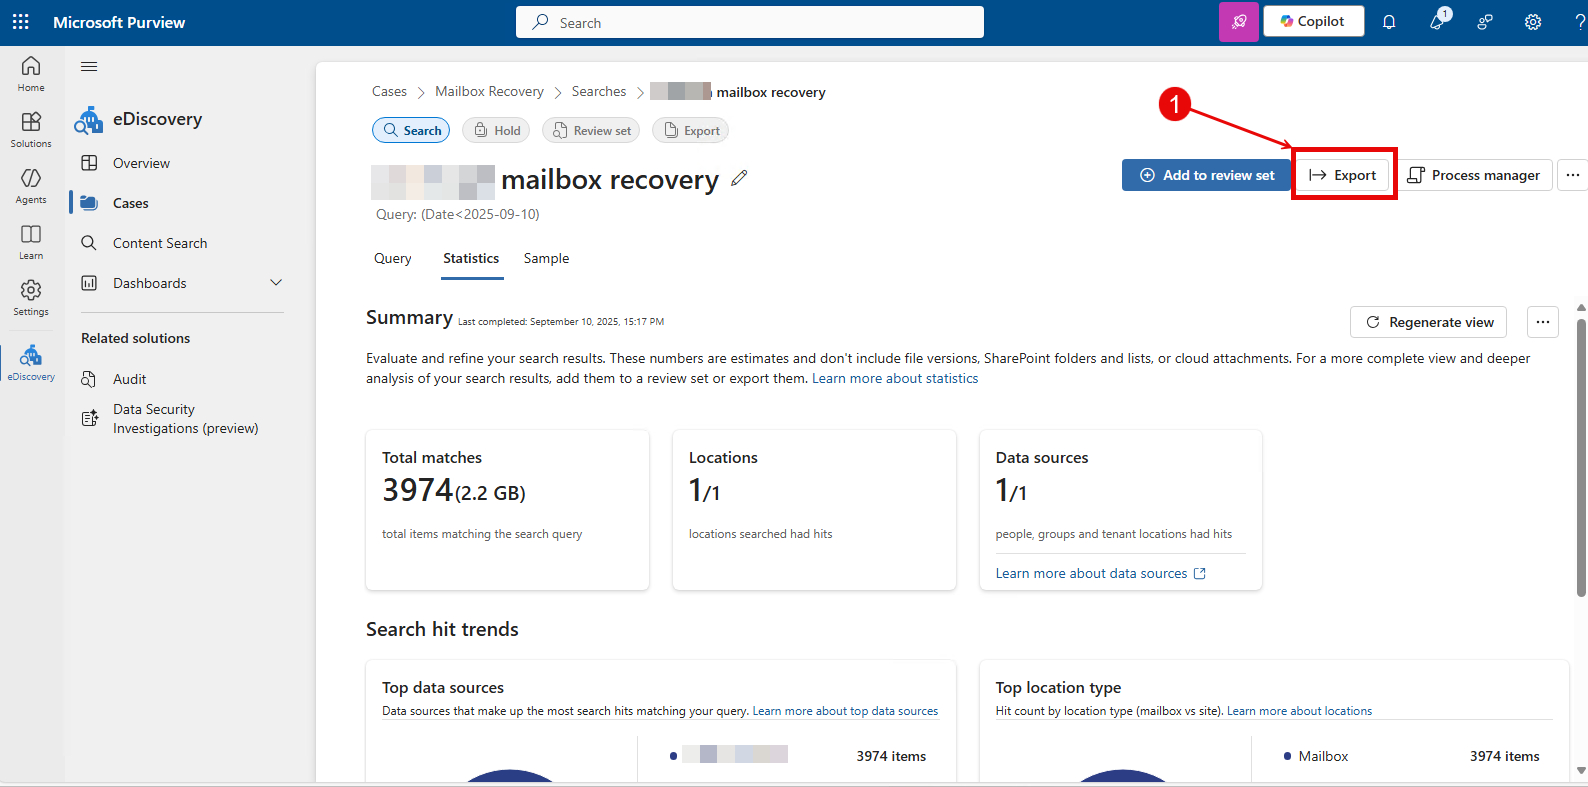
- Once the query completes you’ll see a statistics of the total item matching the search query you specified and the size of the items)
Export Search Results
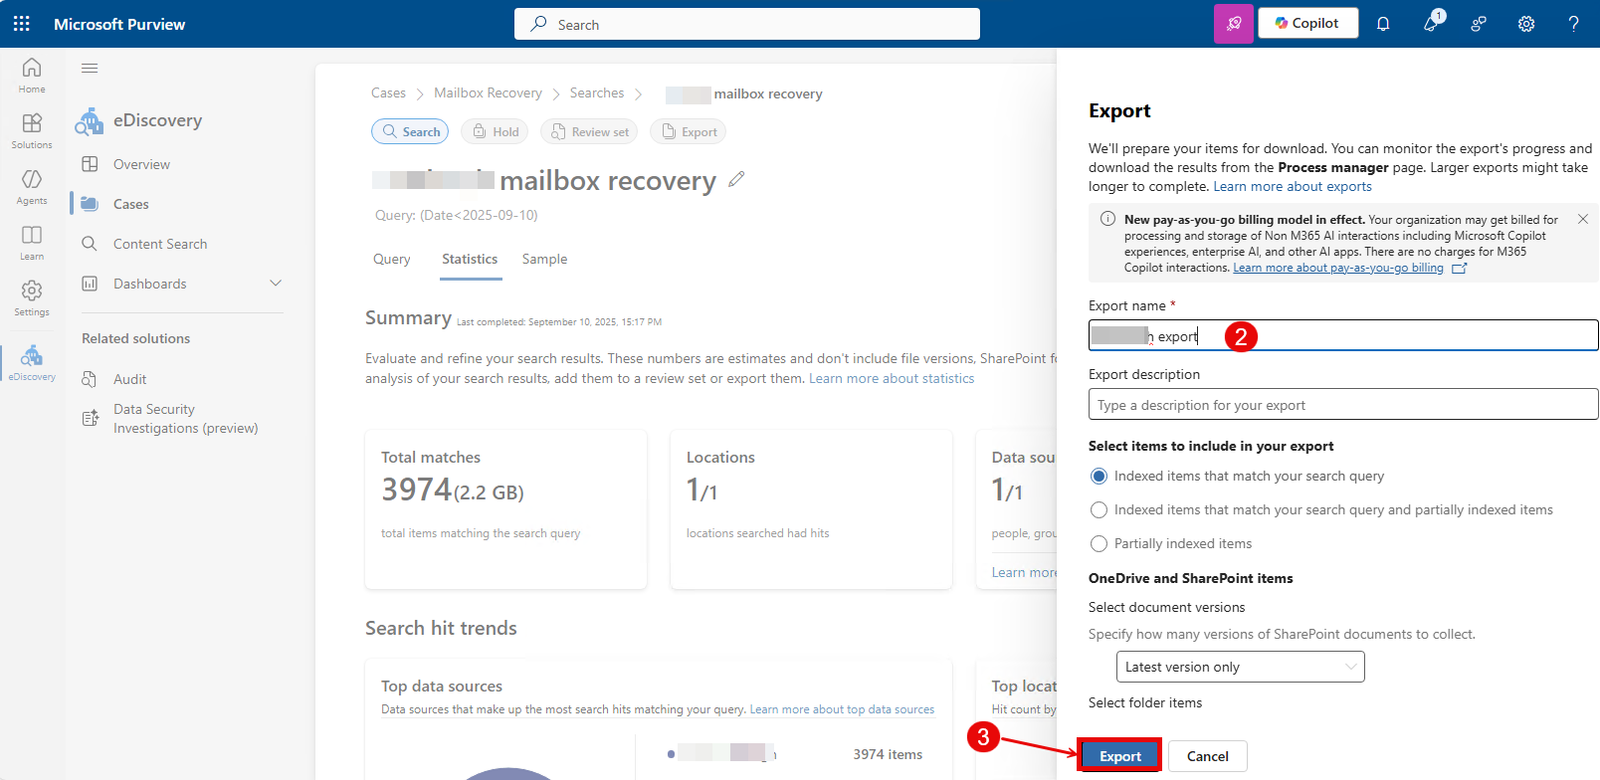
- Select Export.
- Give the export a name. You can scroll down and select options applicable to you under Messages and related items from mailboxes and Exchange online. (in this example we’ll keep the default options)
- Click on the Export button to begin the export.
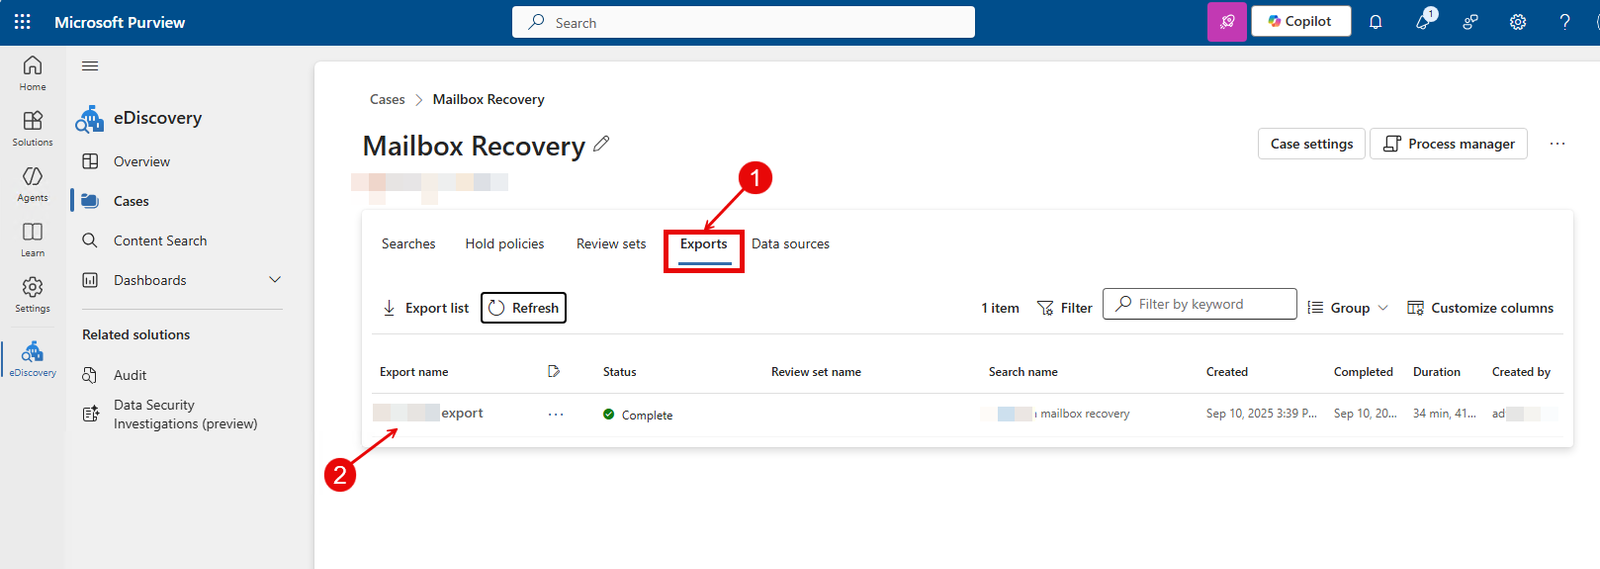
Download the Export
Once the export is packaged up, you’ll need to download the file unto your local computer.
- Go to the Export tab to check the progress of the export.
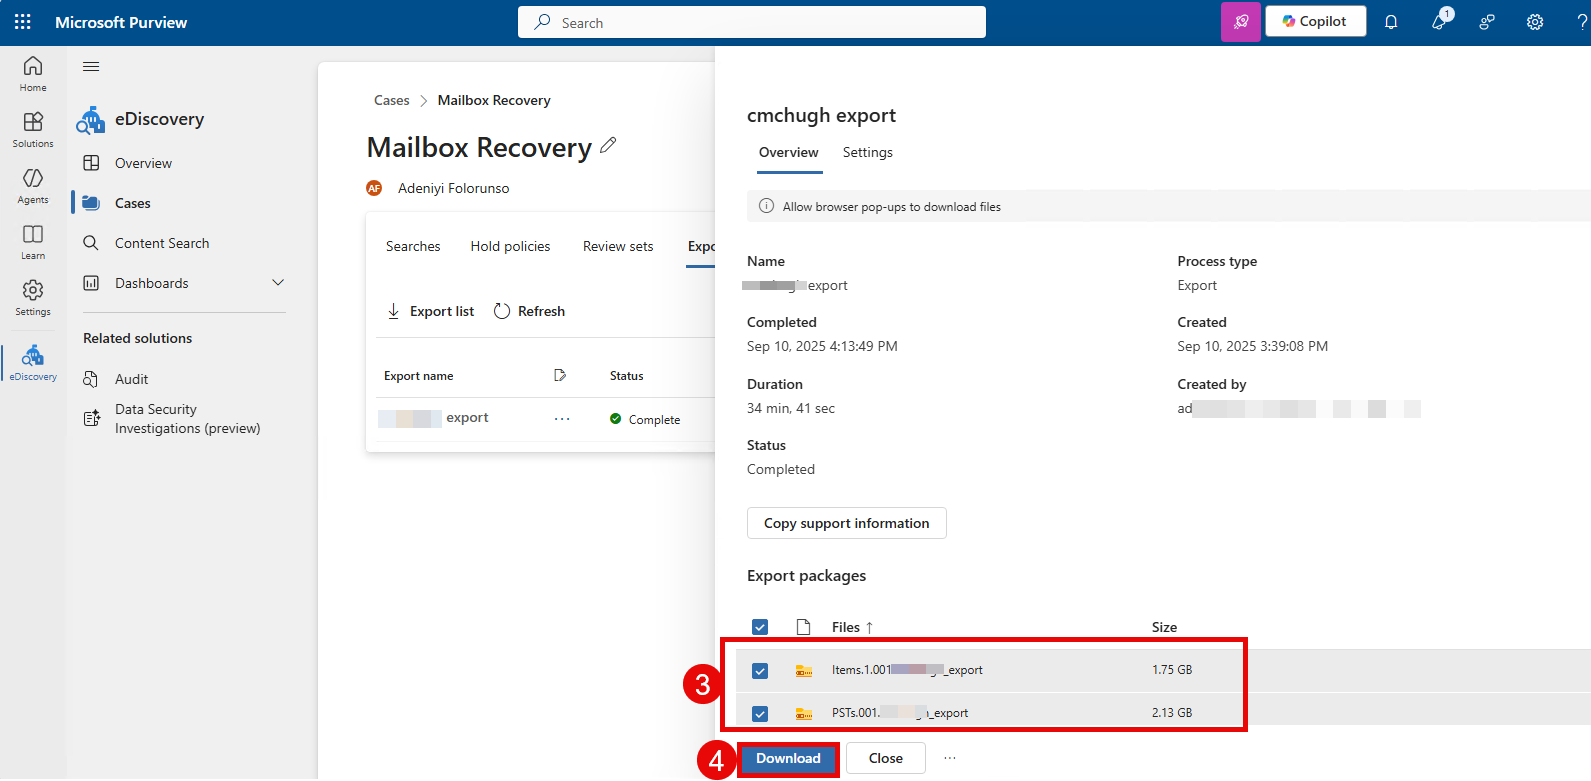
- Once the export is complete, click on the export name.
- Select the files that have been exported.
- Click on Download to download the files to you local computer.
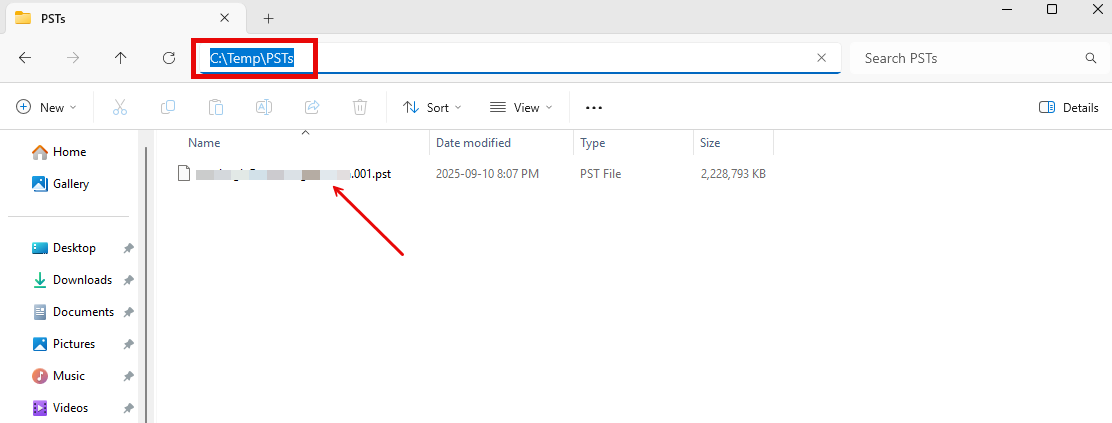
- Once the download is complete, open File Explorer on your computer and navigate to the location of the downloaded zip files. Extract the file (we are interested in the PST… zip file since that is where the .pst file is located). Once the file has been extracted the .pst file that you need will be in the Exchange folder. You can leave it in that folder or move it to another folder. In our example I’ve moved the .pst file to the path C:\Temp\PSTs (take note of the location of the .pst file as we’ll need it shortly)

Import PST to Office 365
Create PST Import Job
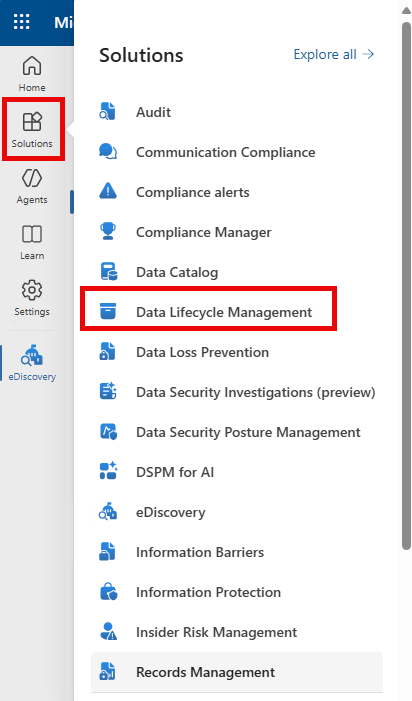
- In the Microsoft Purview portal, select Solutions > Data Lifecycle Management.
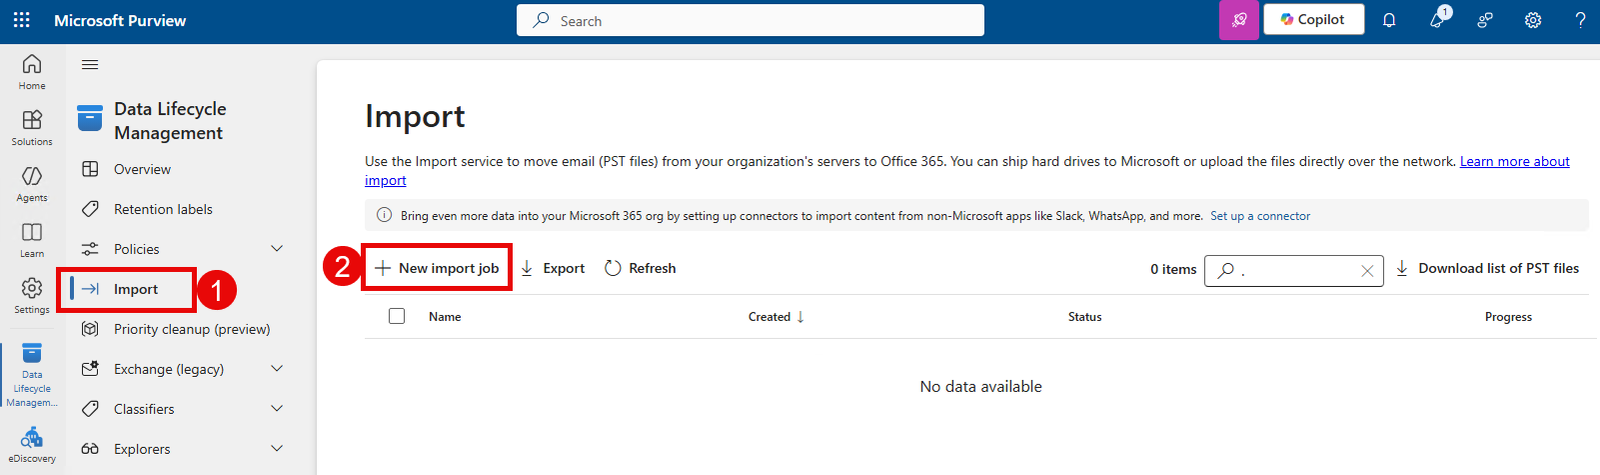
- Next, select Import > New import job.
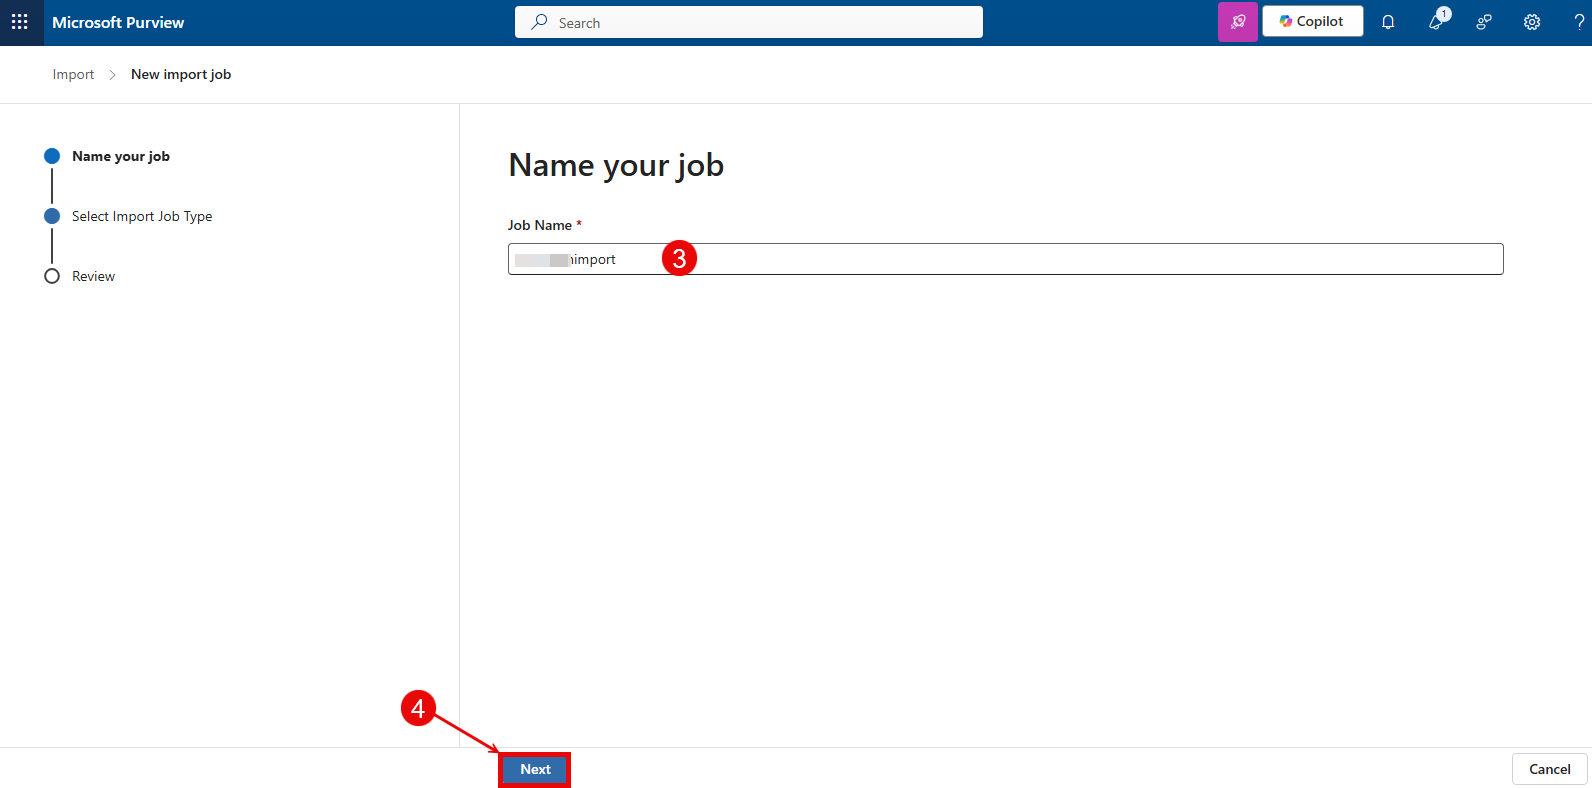
- Give the job a name
- Click Next.
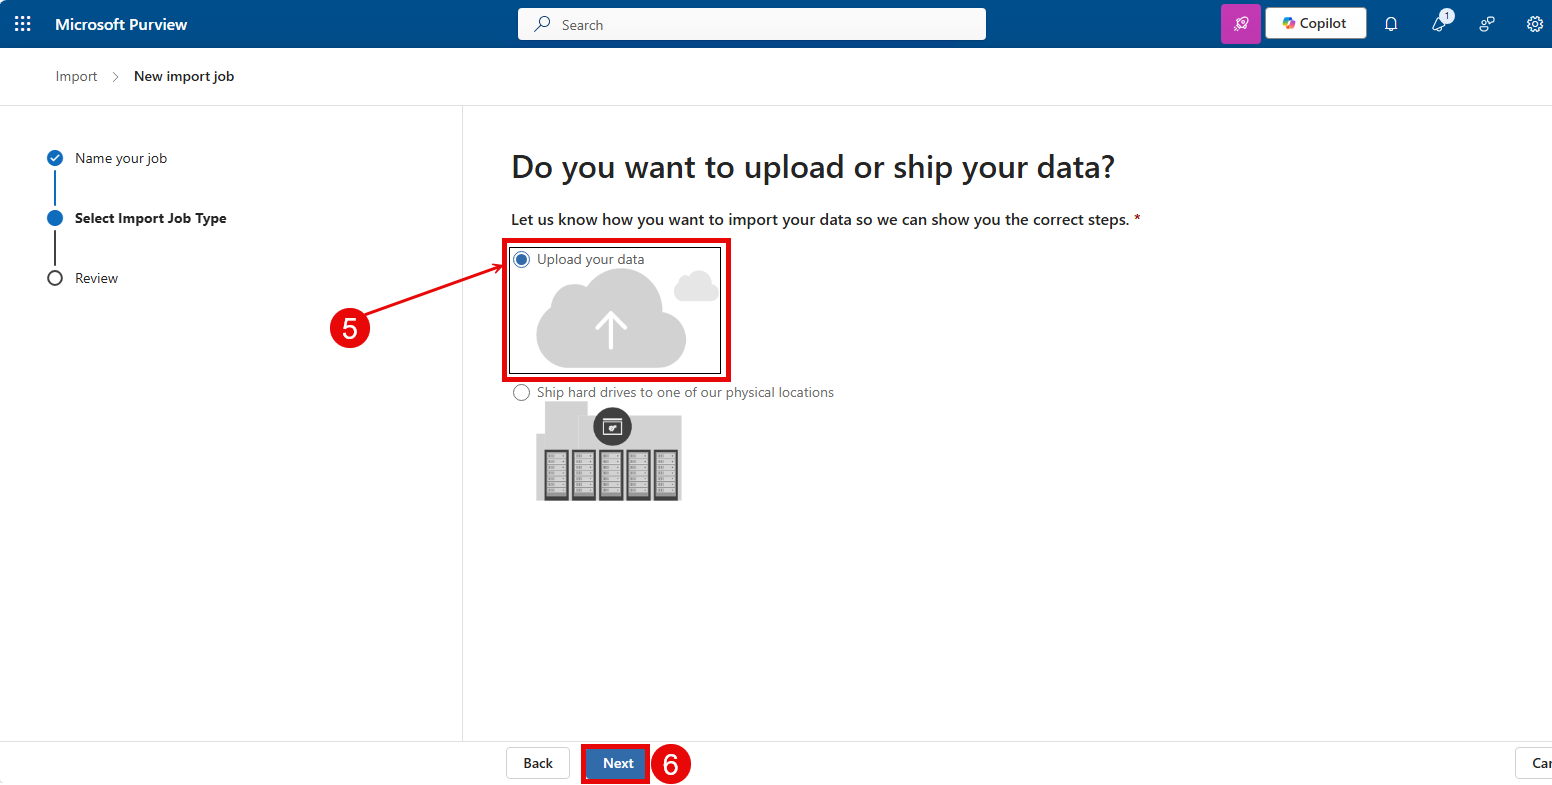
- Select Upload your data
- Click Next.
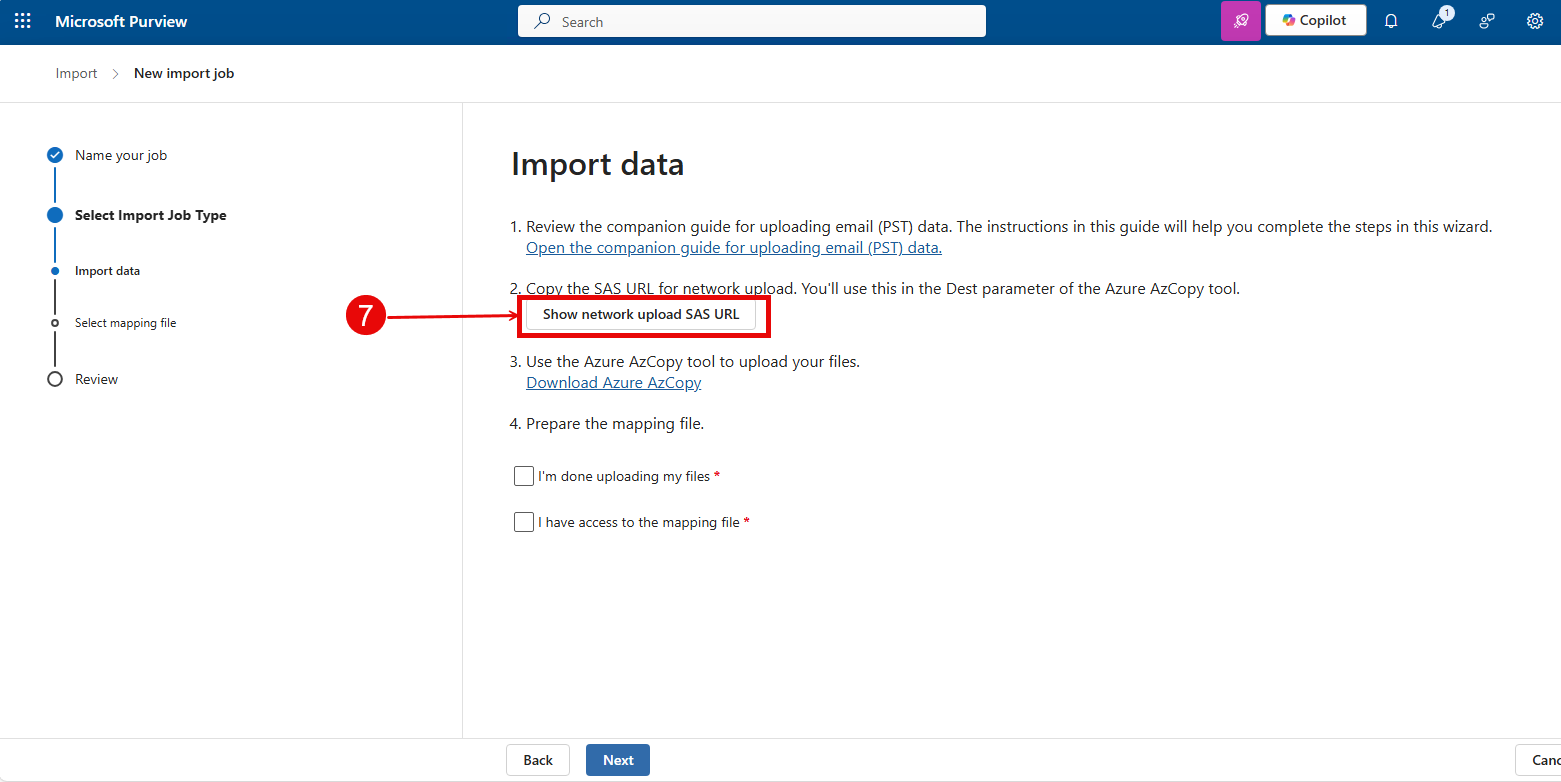
- Click on Show network upload SAS URL.
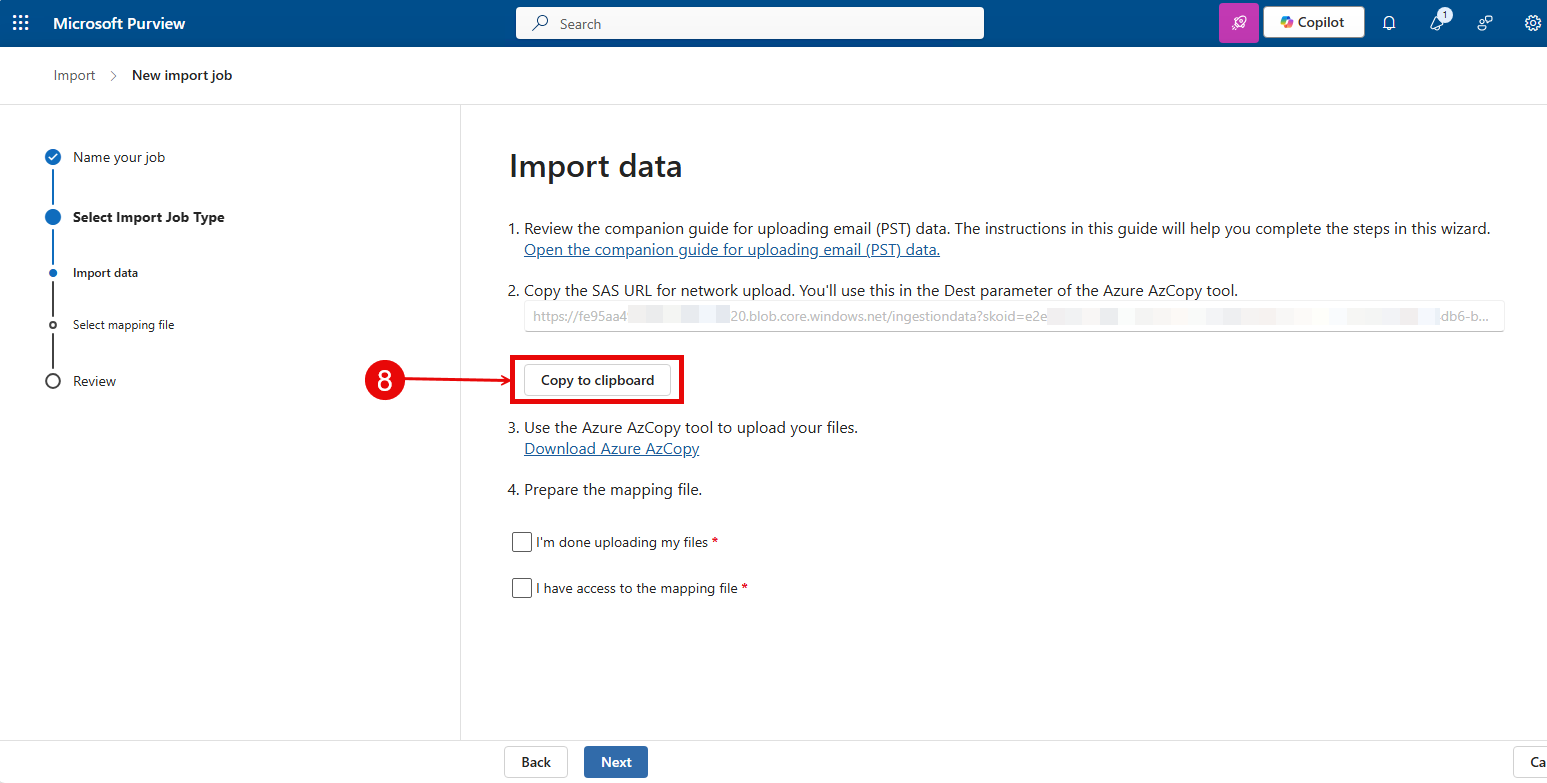
- Click on Copy to clipboard to copy the SAS URL. Keep the SAS URL, you will need it in the next step.
- in the next step, you will upload the PST file(s) to Office 365 with AzCopy command-line.
Note: Don’t cancel the import job because you need to return to this window and finish the import job. If you cancel the import job, you have to go through the steps again.
Upload PST File(s) to Office 365
- Download AzCopy (Microsoft) and place it in a folder. In our example we placed it in the C:\Temp directory. AzCopy V10 is just an executable file, so there’s nothing to install.

- Remember our .pst file is in the C:\Temp\PSTs directory.
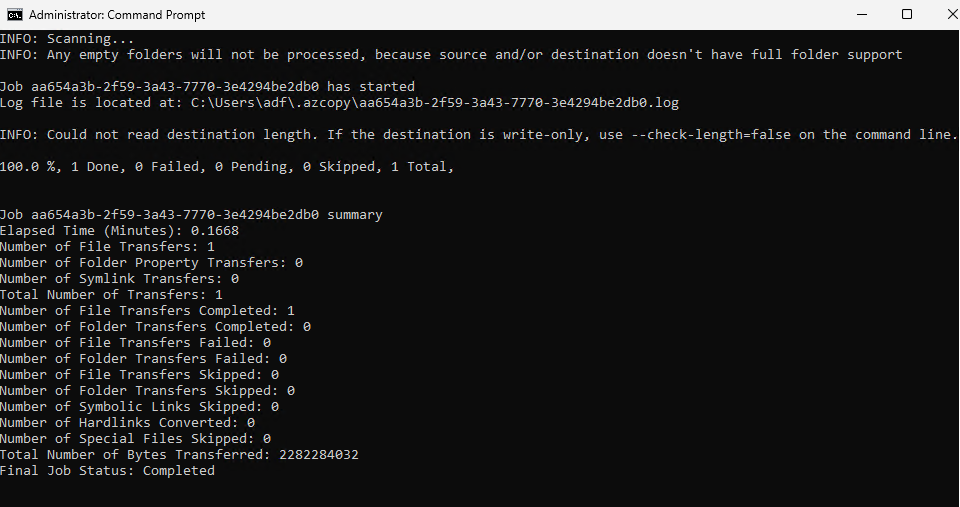
- Start Command Prompt as administrator, change the directory to C:\Temp\ and then Paste the SAS URL you copied in the previous step in the command as see below.
C:\>cd C:\Temp\
C:\Temp>azcopy.exe copy "C:\Temp\PSTs" "<SAS URL>" --recursive

- Run the command to upload the PST file to Azure. The output of the command will show something similar to the screenshot below.
View PST file(s) uploaded to Azure
To confirm the PST file(s) have been uploaded to Azure, you can view the files using Azure storage explorer.
Follow the steps below to install the Microsoft Azure Storage Explorer:
- Download the Microsoft Azure Storage Explorer and install.
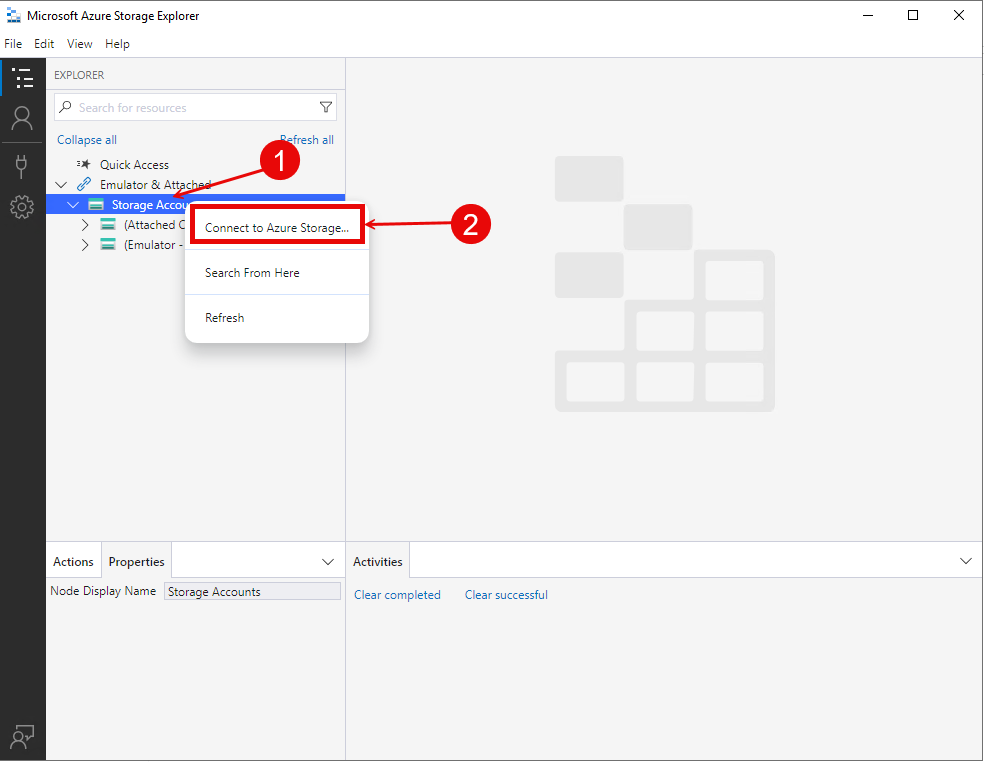
- Start Microsoft Azure Storage Explorer
- Right click on Storage Accounts.
- Click on Connect to Azure Storage…
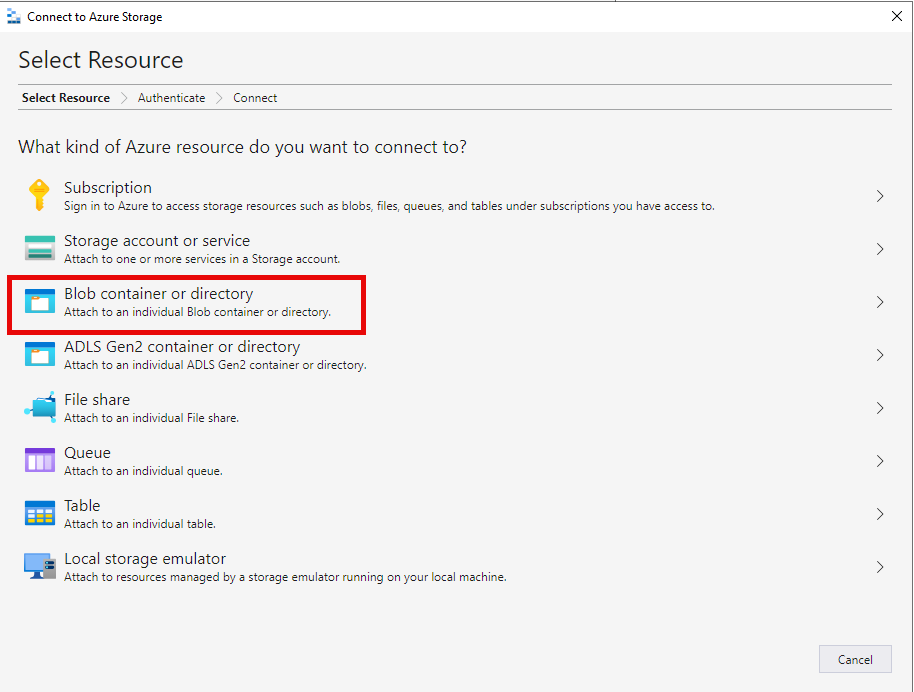
- Click on Blob container or directory.
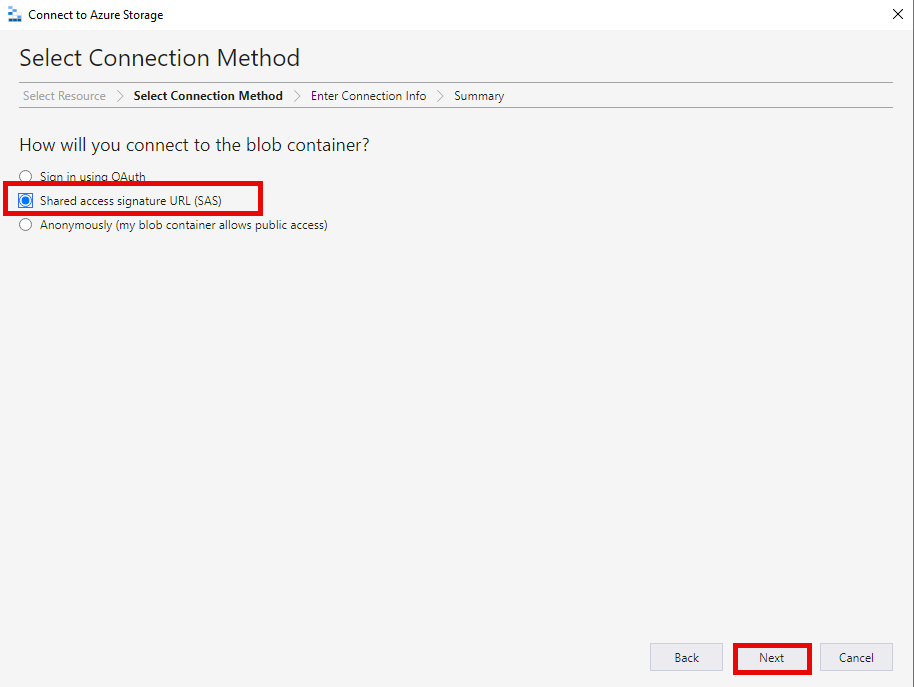
- Select Shared access signature URL (SAS) and click Next.
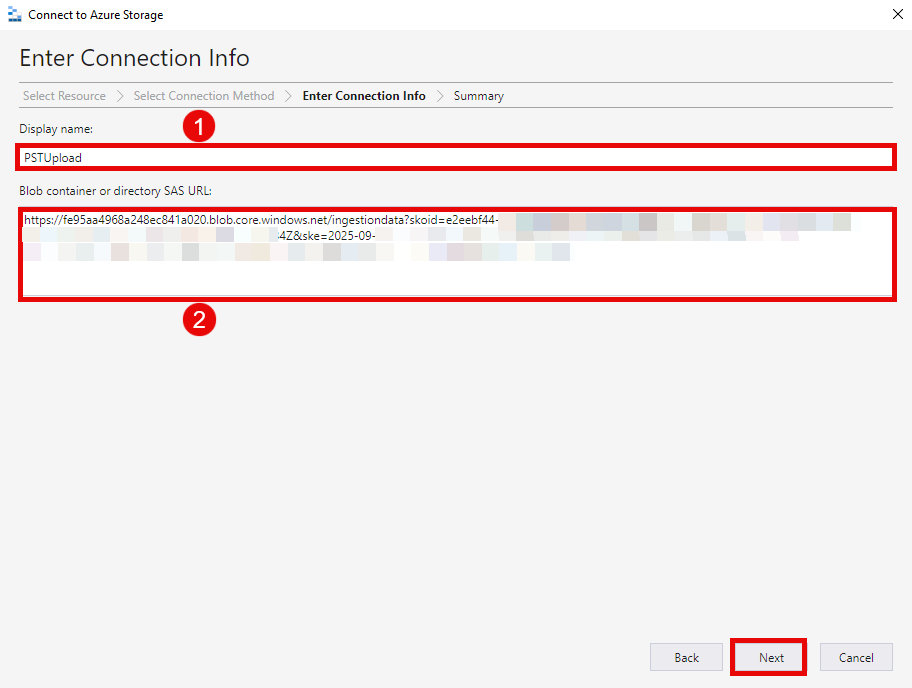
- Provide a Display Name.
- Paste the Blob container SAS URL that you obtained from the previous step.
- Click Next.
- Click Connect.
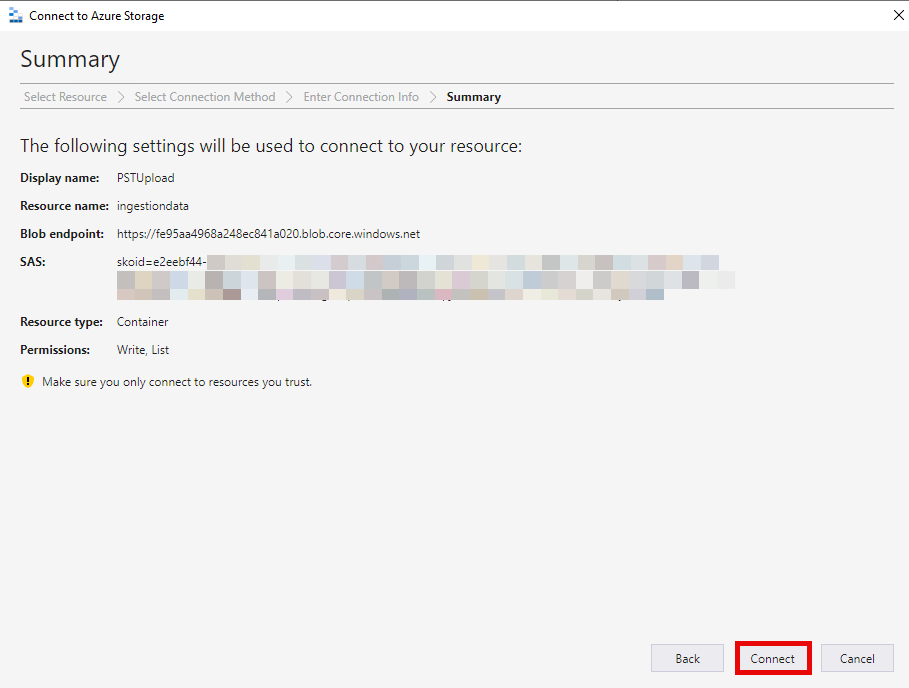
You should now see the PSTs folder and the PST file(s).

Now that you’ve verified that the PST files are in the Azure storage, we need to create a PST import mapping file and start the import to Office 365.
Create PST Import Mapping File
- Download a copy of the PST import mapping PST import mapping file.
- Get the user’s mailbox GUID via this command:
Get-Mailbox user@domain.com | FL Guid
Note:It is important to use the GUID especially if you have multiple users with similar names to prevent the import operation from failling saying the provided name matches multiple mailboxes. User@domain.com is the email address of the user whose pst file you downloaded and want to recover.

You can open the CSV file with Notepad, edit the values, or verify that it’s saved as a comma-delimited file.

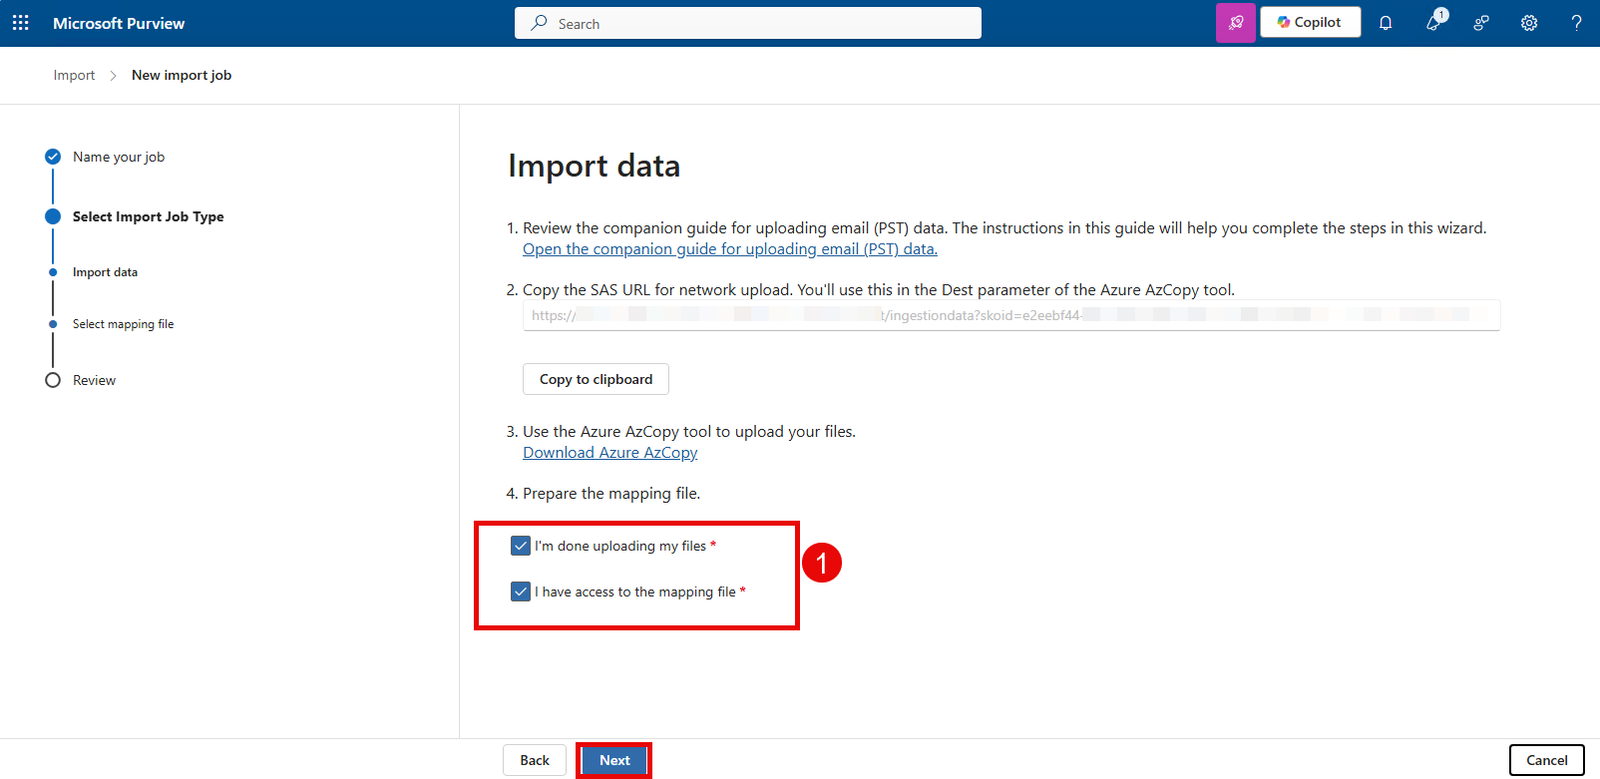
Select Import Mapping File
Go back to the import job that you started.
- On the Import data page, Check the boxes “I’m done uploading my files” and “I have access to the mapping file” and click Next.
- Click Upload file.
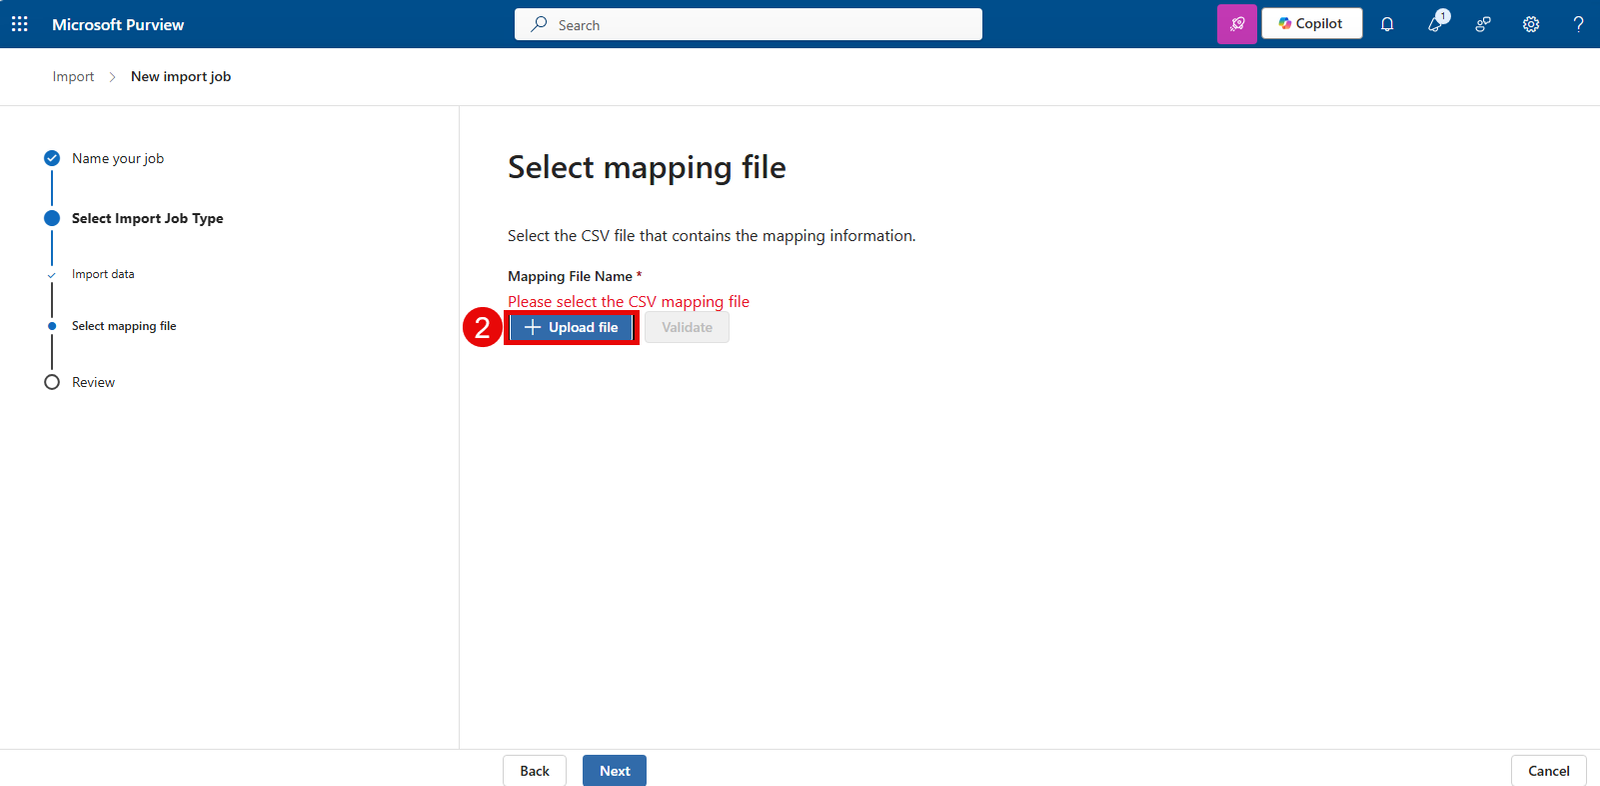
- Browse to the PstImportMappingFile.csv file and click on Validate.
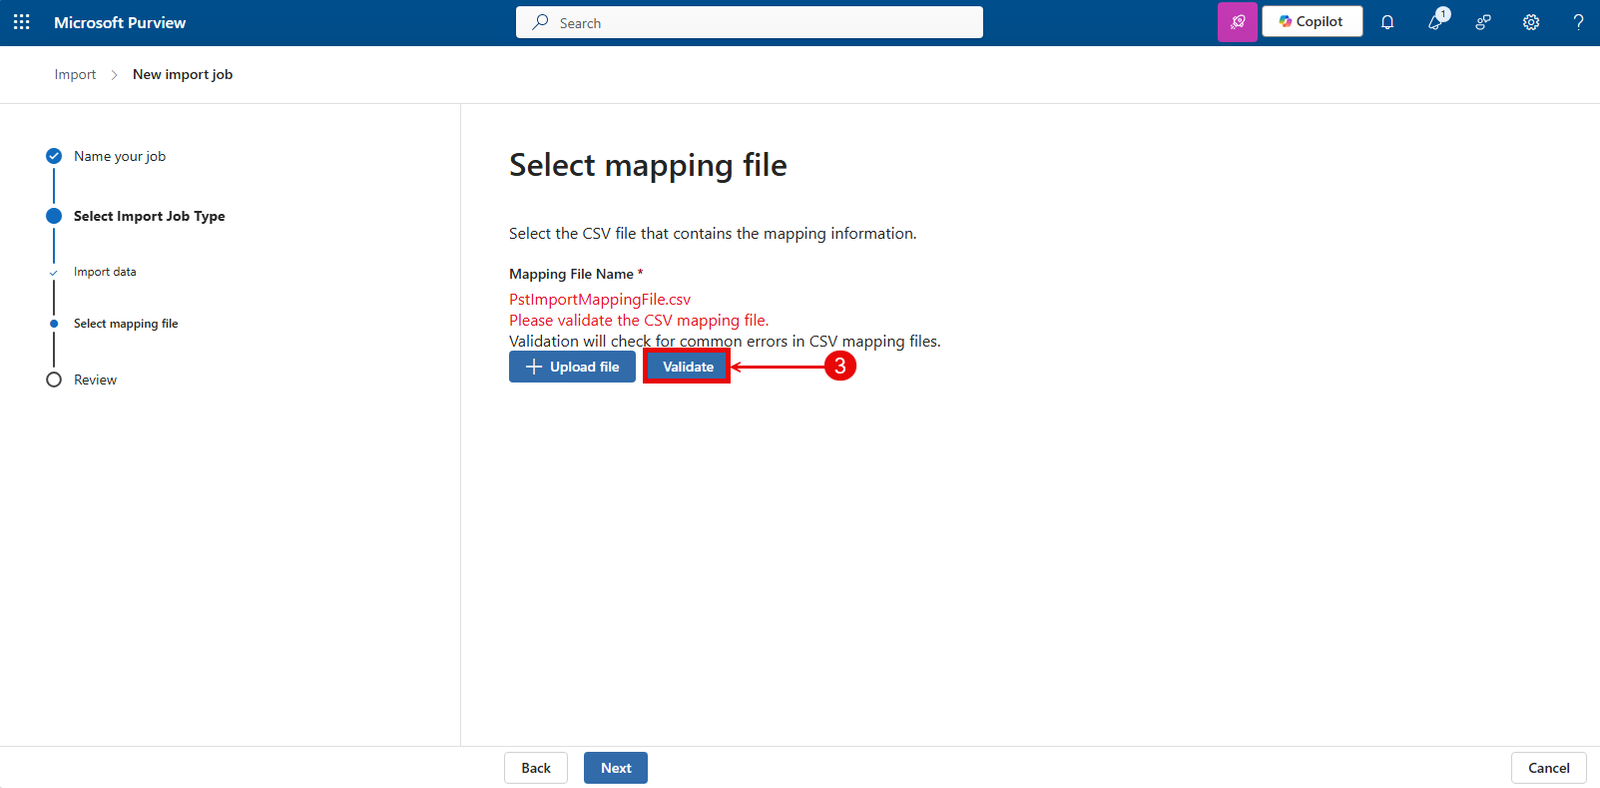
- If the mapping file is valid, it’ll show green text. Click Next.
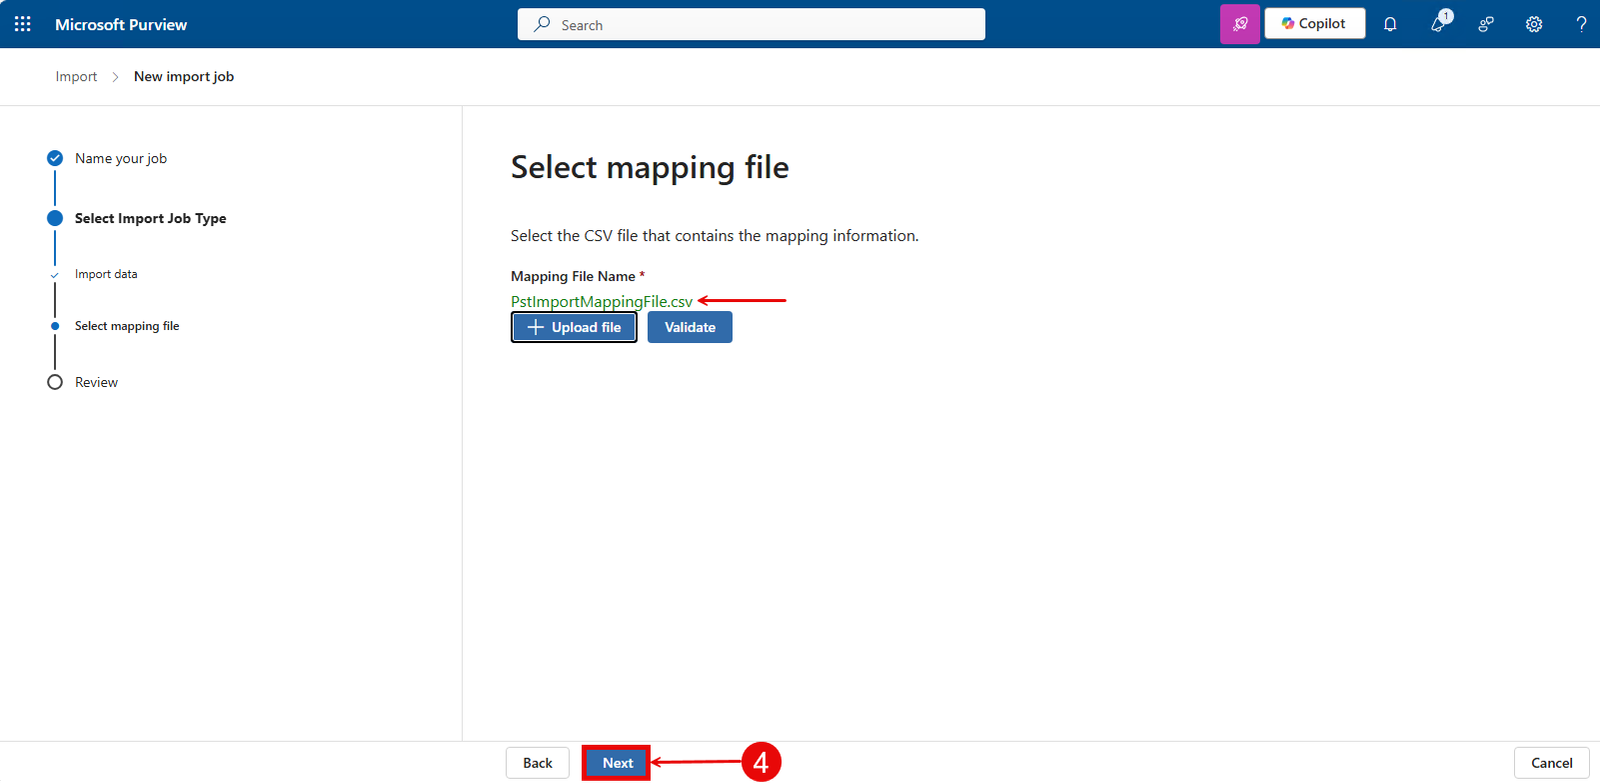
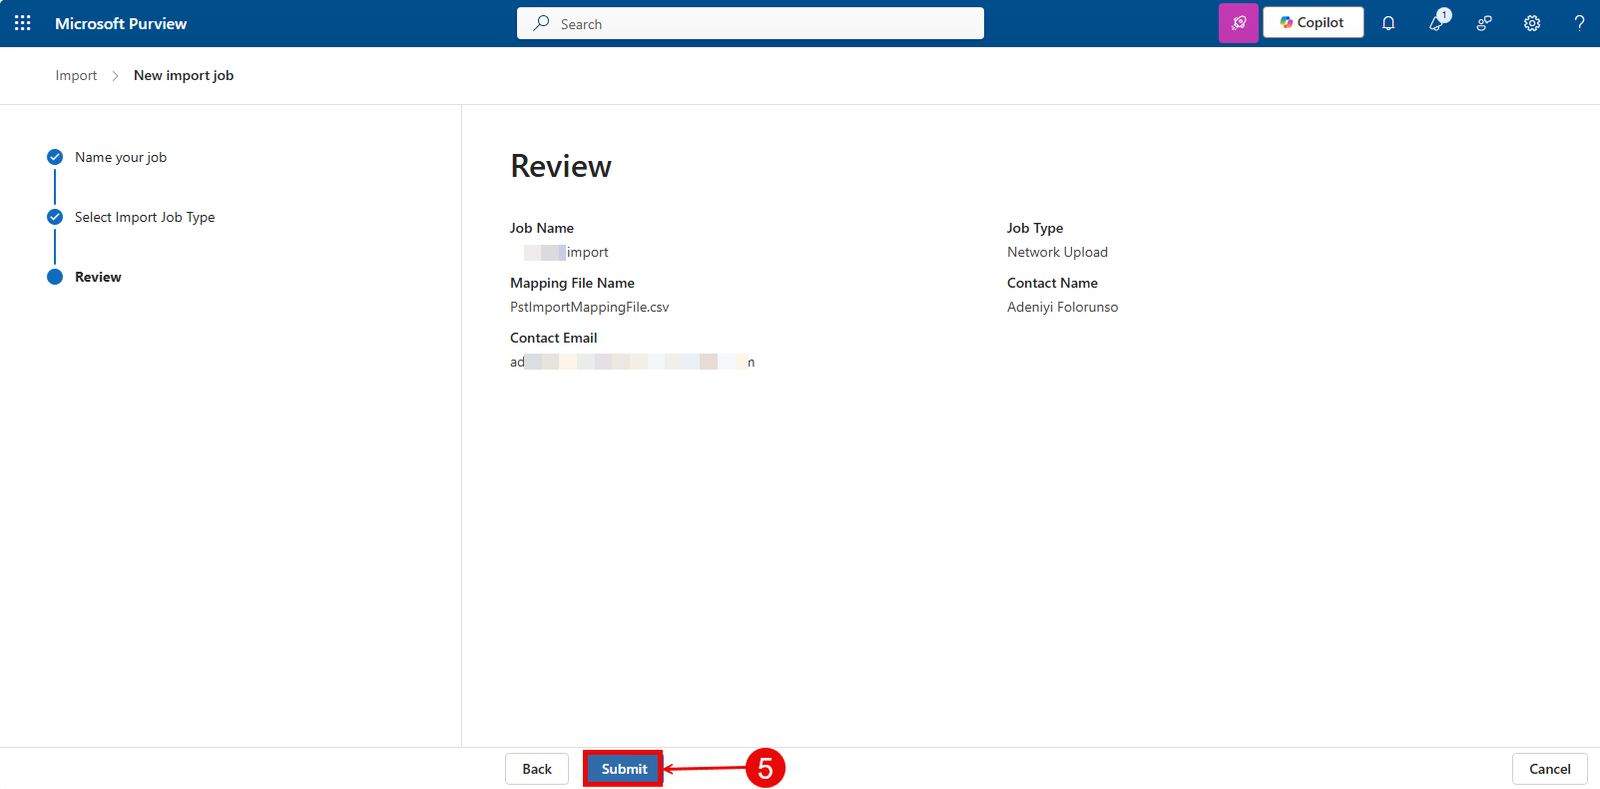
- Review the PST import job and click Submit.
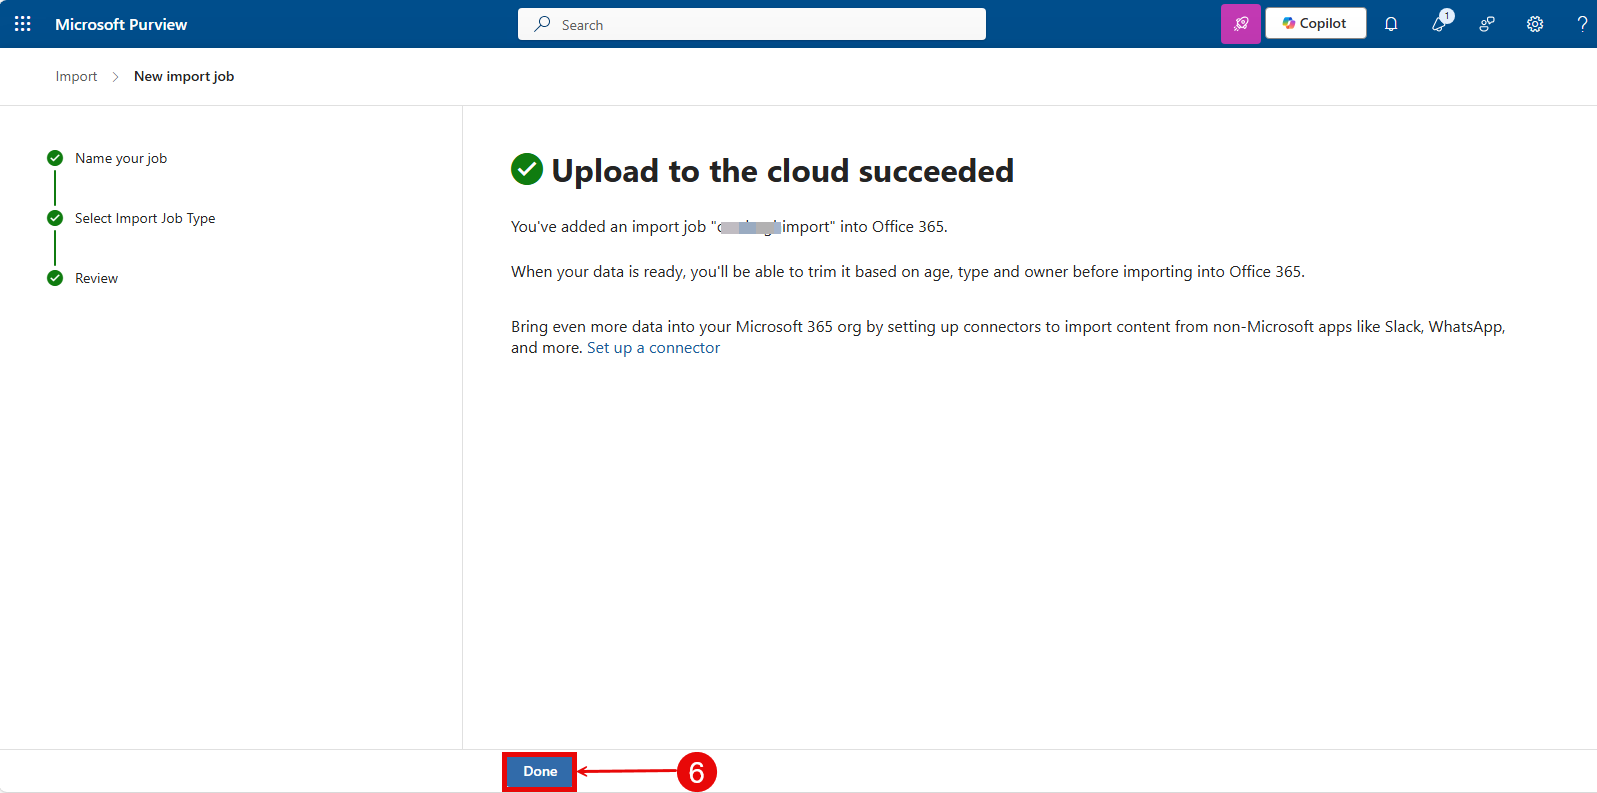
- You should get a green check mark with the message “Upload to the cloud succeeded”. Click Done.
Wait for the analysis progress to complete.
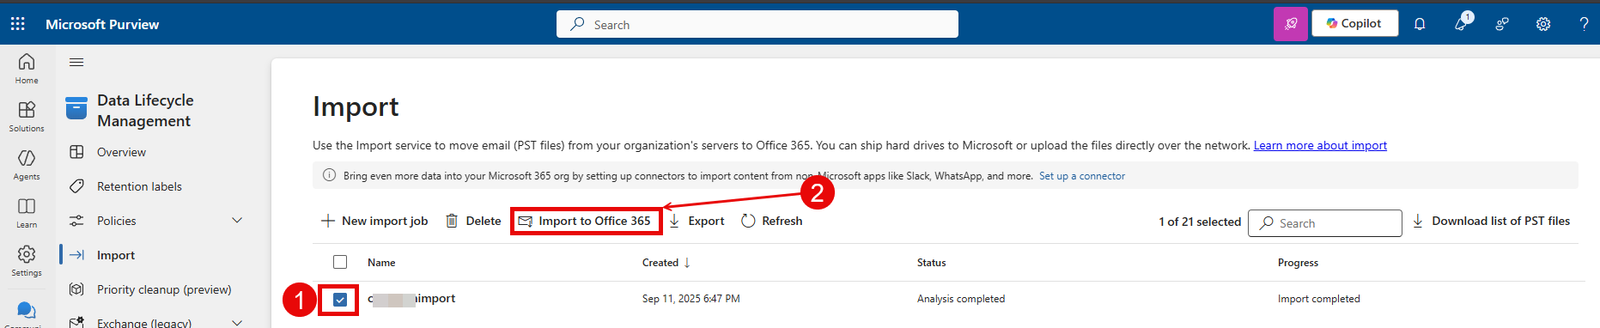
Once complete, the status will show completed and the progress will show import completed. Next, you need to start the import to Office 365. This will import the recovered emails to the mailbox you speified in the PSTImportMappingFile.
Start Import to Office 365
- Select the checkbox in front of the Import Job.
- Click on Import to Office 365 button.
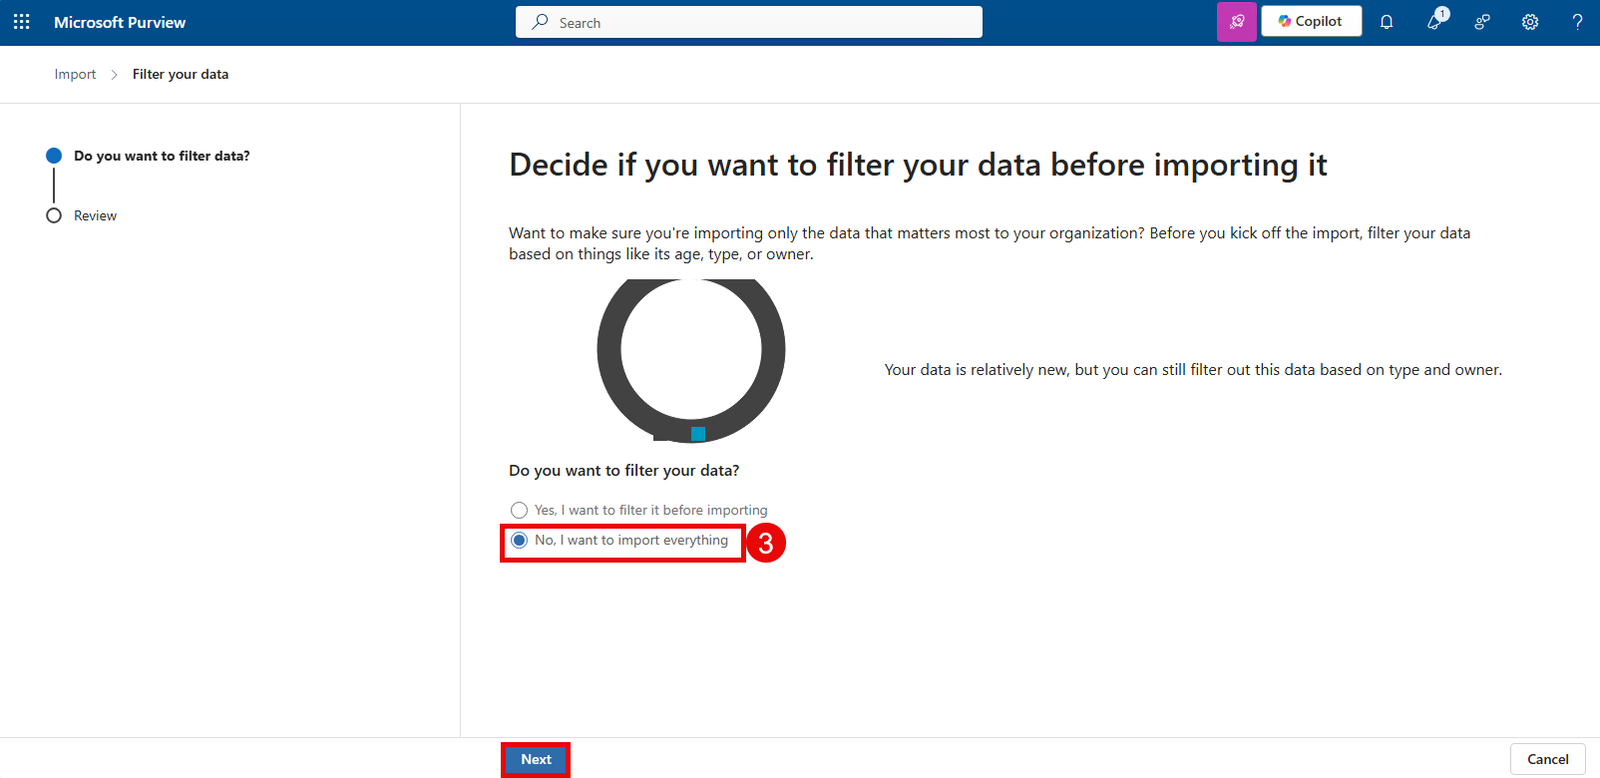
- Select No, I want to import everything. Click Next.
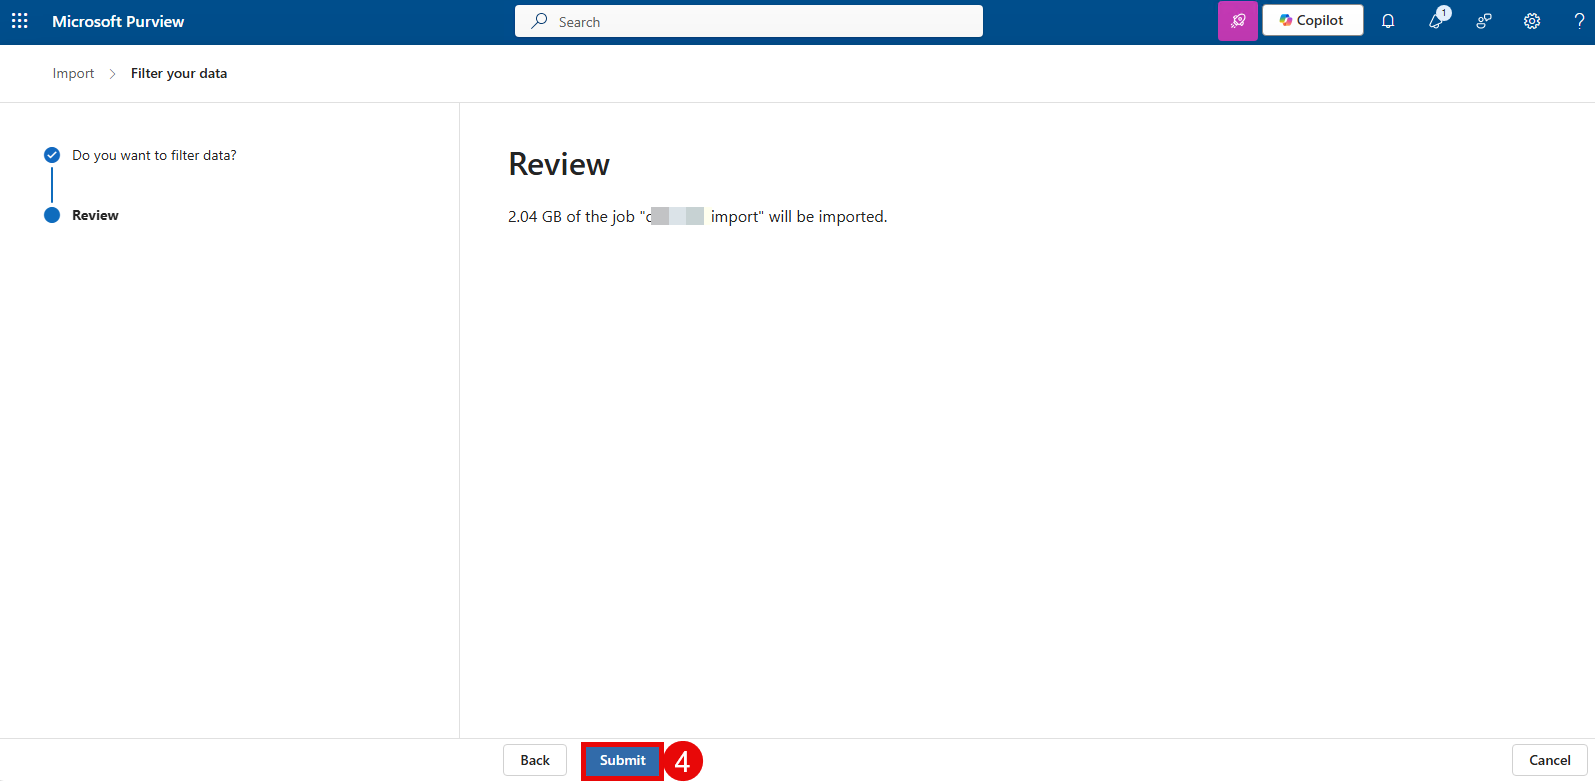
- Click on Submit.
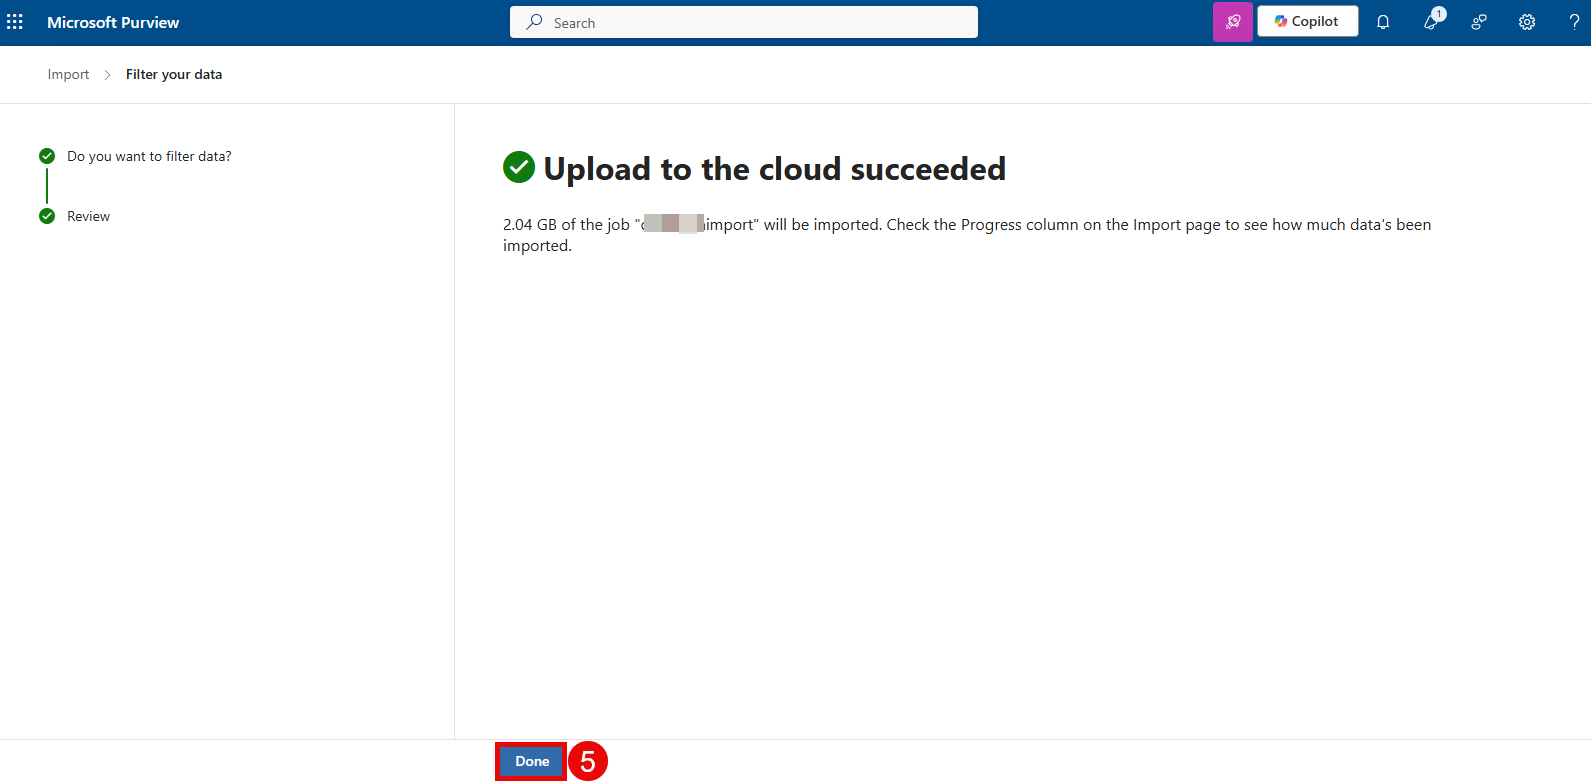
- You should see a green check mark with the message “Upload to the cloud succeeded”. Click Done.
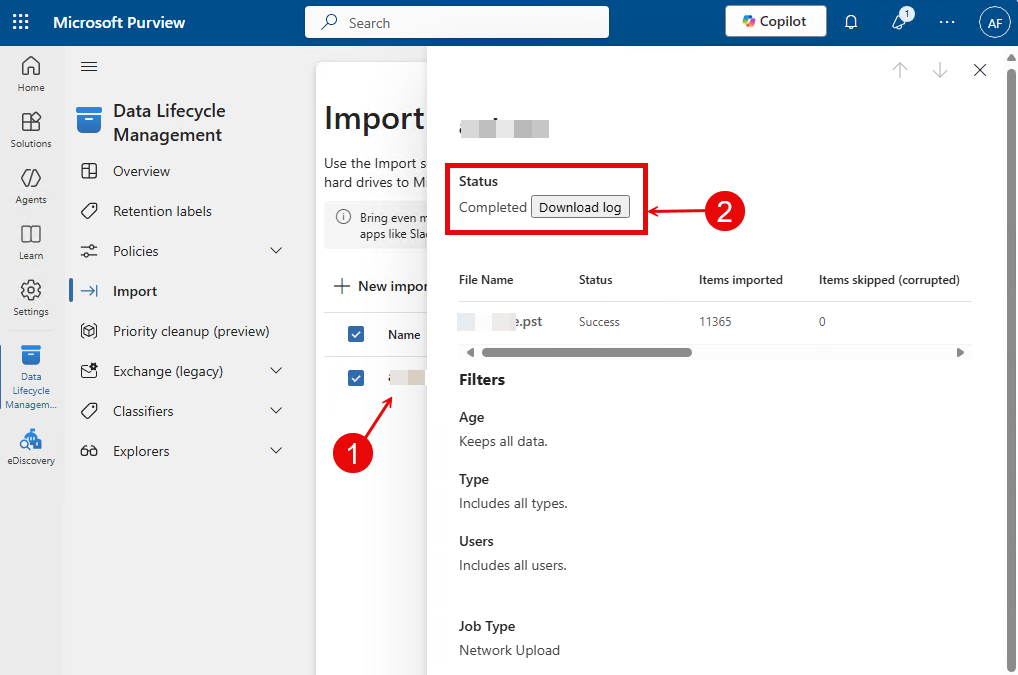
Depending on the size of the job, it may take some time before the import to Office 365 completes but you should be able to see the progress as the job is being imported.
To verify the status of the PST import job, click on the Import Job in the list view. Then, verify that the PST import job shows the status completed.